Page 210 of 345
Re: Vlad's rides thread
Posted: Fri Oct 14, 2016 12:16 pm
by immortality
Seen those but I ignore any failures from the off-road boys who are running big tyres (circa 35") with big power to turn em in big/heavy vehicles.....
Re: Vlad's rides thread
Posted: Sat Oct 15, 2016 7:17 pm
by vlad01
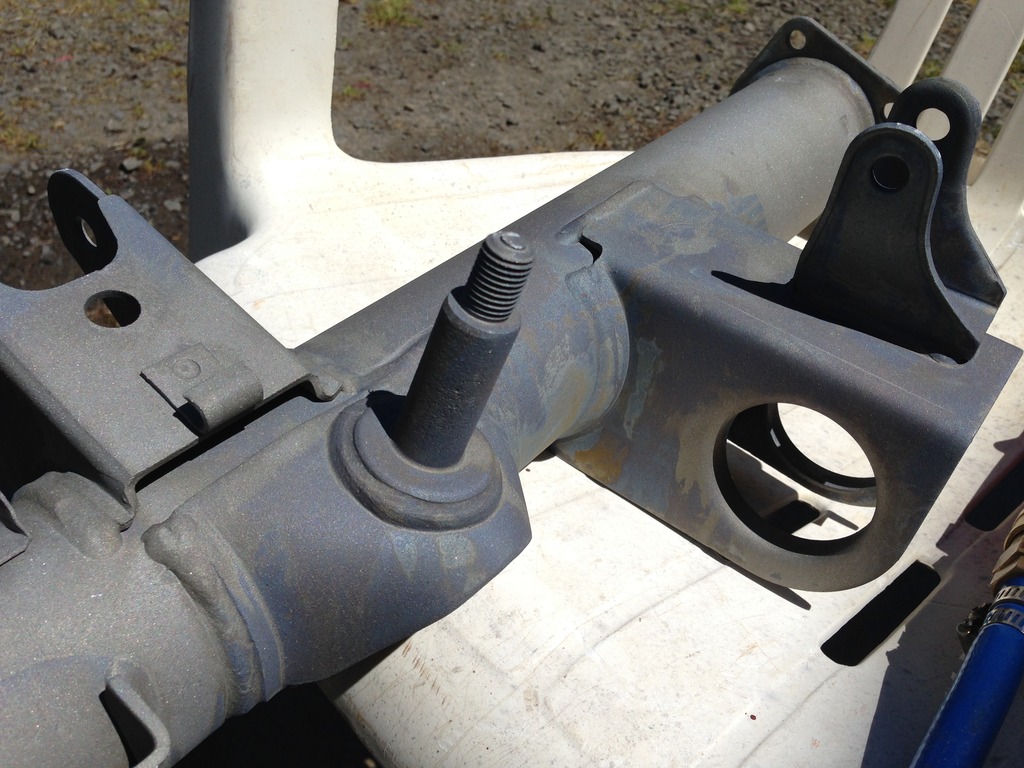
Housing and heap of other bits gone to the blaster. Plugged everything up nice and tight!
- IMG_1077_zps1vmapnxg.jpg (200.46 KiB) Viewed 3226 times
- IMG_1078_zpsset9nktd.jpg (200.46 KiB) Viewed 3226 times
While I was at the blaster I helped him push another 911 body into the blasting room. like the 3rd or 4th one I seen in there already. Good investment if you can get one under 100k.
Re: Vlad's rides thread
Posted: Tue Oct 18, 2016 1:27 am
by OZ38
Another T5 build in the box ?
Re: Vlad's rides thread
Posted: Tue Oct 18, 2016 6:15 am
by vlad01
Nah nephew's box for his vp. The other parts tou see are left overs from the last build. Got another one for parts too behind me.
Re: Vlad's rides thread
Posted: Fri Oct 21, 2016 11:59 am
by OZ38
Just on that (T5) last build. I see you set the cluster shaft with preload as it Paul C's instructions. But left a end float on the main shaft setting. Watching one of Paul's video on You Tube recently & he set preload on both shafts without measuring equipment (just by feel). You may have seen them, he teamed up with Eric the car guy ?
Re: Vlad's rides thread
Posted: Fri Oct 21, 2016 7:33 pm
by vlad01
No, actually as Paul told me to stick to the factory settings which are actually -ve 0.05 - 0.07mm float, so indeed a preload not a free float. Its just done via measurements of shims and float until the shims are = to 0 float + 0.05-0.07 to add some preload.
Its mentioned in the Holden Gregory's manual or the tremec rebuild manual.
It can't be done by the dial wrench as you are turning every component inside the box unlike an isolated counter gear, so then everything would effect the reading of the bearings you are trying to measure if that makes sense?
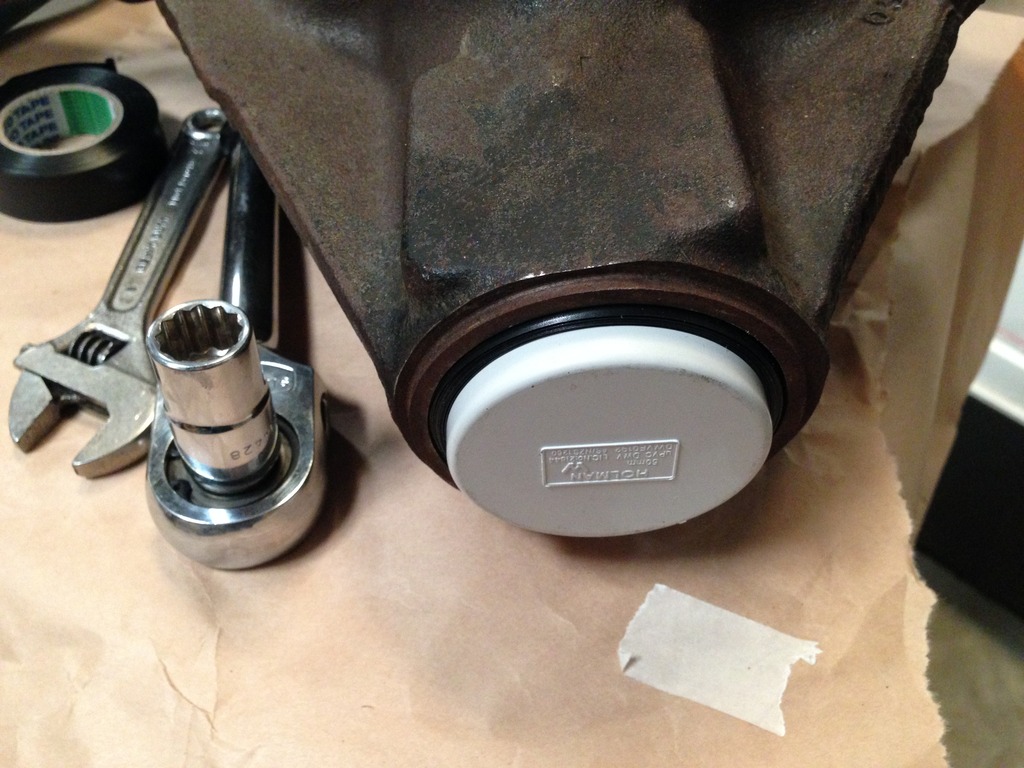
Re: Vlad's rides thread
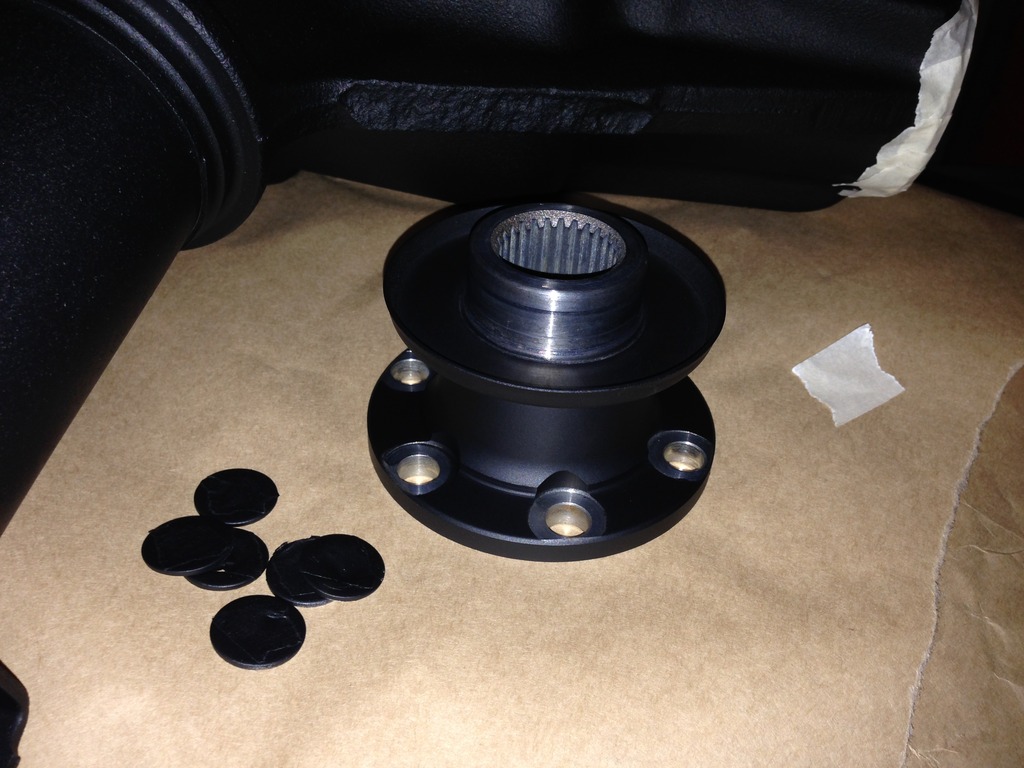
Posted: Sat Oct 22, 2016 3:26 pm
by vlad01
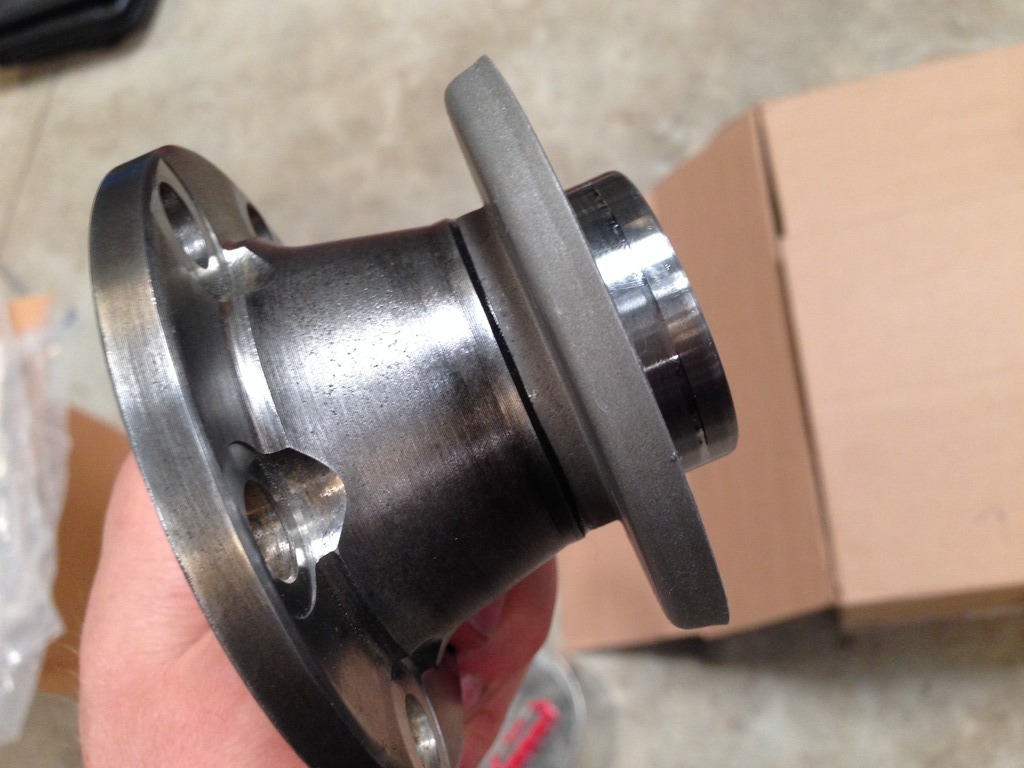
Picked up my diff flange.
only 20 bucks to have that done.

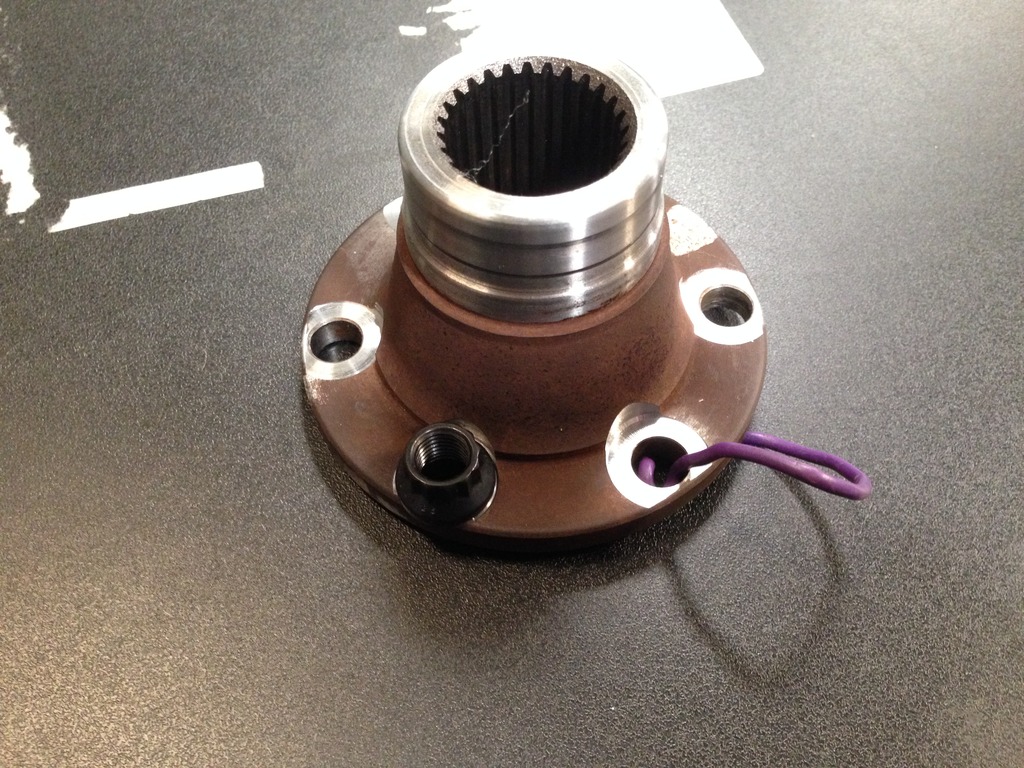
- IMG_1081_zps0yoo7lyz.jpg (294.07 KiB) Viewed 3226 times
Also my sump is how finally being done today. They started on it when I picked up the flange. Will be ready next week.
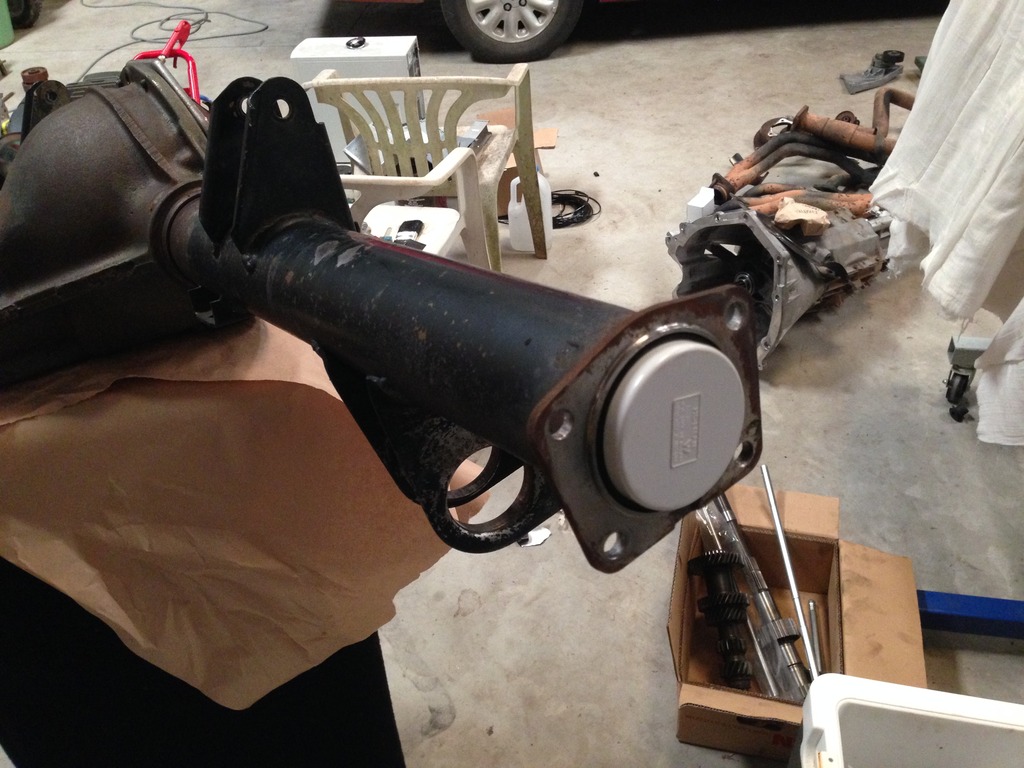
Re: Vlad's rides thread
Posted: Sun Oct 30, 2016 9:03 pm
by vlad01
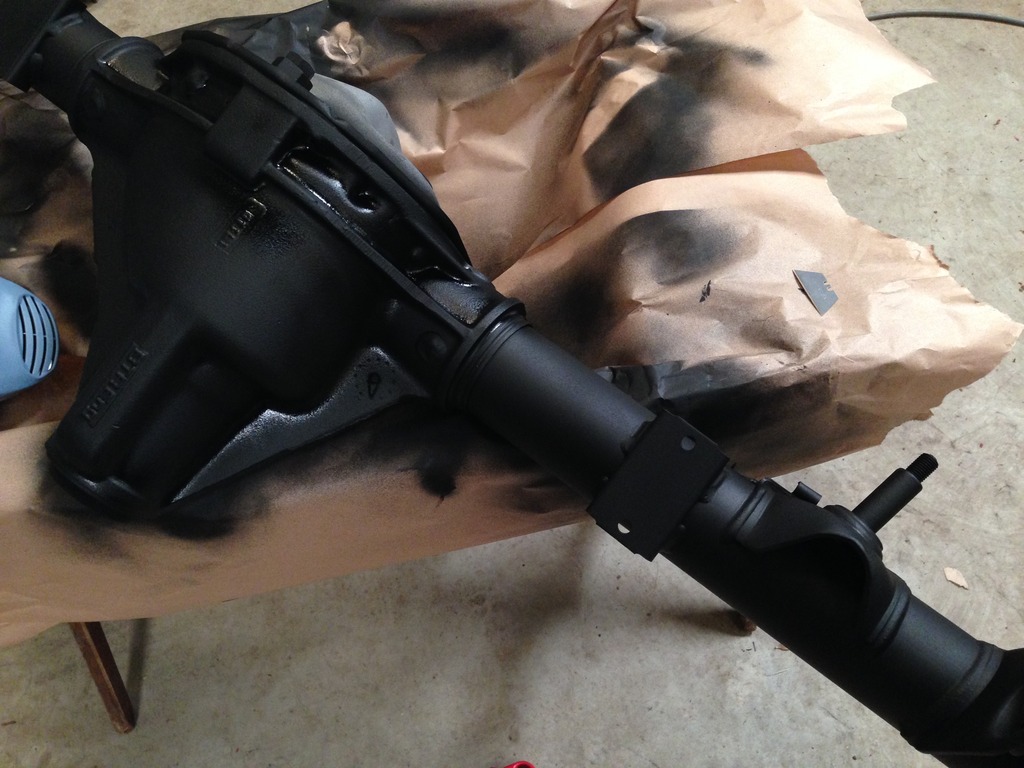
Few updates!
Picked up the stuff from the blaster.
Washed down the housing with the water based degreaser to remove the media and oil/grease contaminants.
Because the degreaser is very alkaline you can see it inhibits flash rust.
- IMG_1103_zpslx3g1db2.jpg (243.71 KiB) Viewed 3226 times
After that was done, I treated it with POR15 metal ready to etch and leave a zinc phosphate coating. Then pressure cleaned it off and neutralized with the degreaser and pressure cleaned again, then finally blow dried.
This is what the ready to prime surface looks like after all treatment processes are done.
- IMG_1106_zpshnuo4vvu.jpg (224.56 KiB) Viewed 3226 times
Also had some of my Nephews stuff going at the same time. My old pacemakers from the vacationer will see life in the 3rd car.
- IMG_1107_zpshhi8r7mq.jpg (444.59 KiB) Viewed 3226 times
Housing in primer. Later pulled all the plugs out and the cover and was pleasantly surprised to find no abrasive or water
- IMG_1109_zps8b2gysd9.jpg (184.75 KiB) Viewed 3226 times
These are prone to not sitting tight on the flange so I peened the lip over slightly and epoxied the bastard on lol

- IMG_1110_zpsasvfbrdn.jpg (165.51 KiB) Viewed 3226 times
Good o'l JB weld!
- IMG_1111_zps073y8nhj.jpg (160.11 KiB) Viewed 3226 times
Done! And everything is ready for the center and gears to be installed. Dropping it off next Friday and when I get it back the rest is in my hands.
- IMG_1112_zpsihxqorxk.jpg (180.16 KiB) Viewed 3226 times
Once completed minus axles it will get a final rub down, re-prime and coat of epoxy gloss black. The very old same I have been using for years with great results.
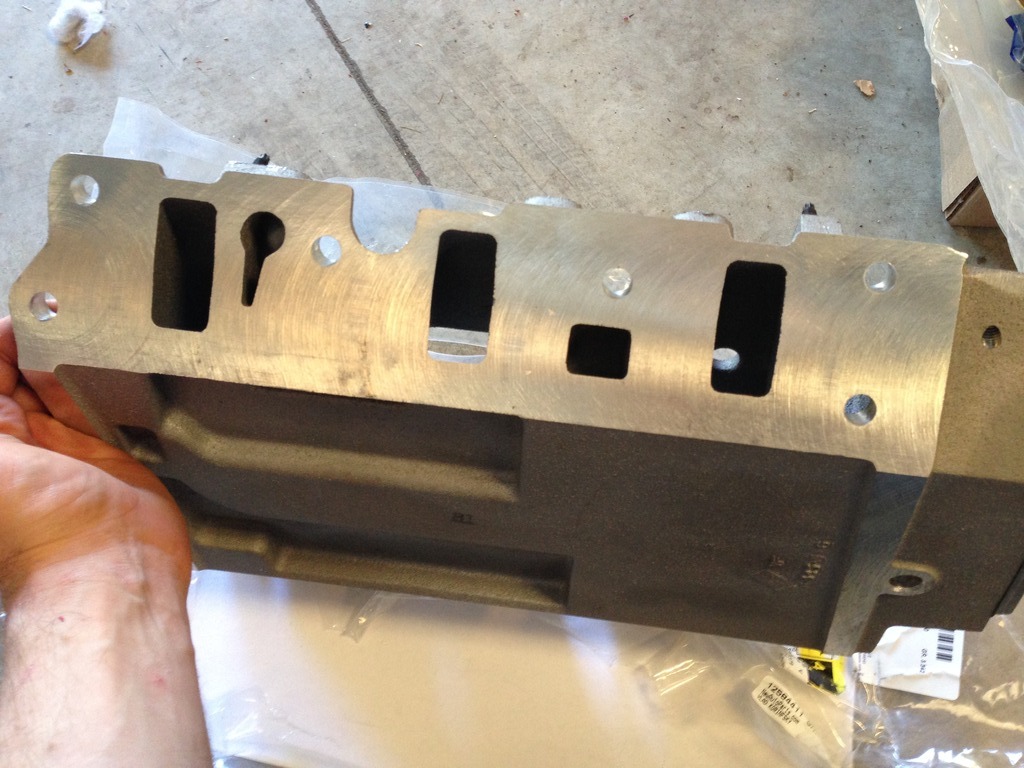
On a different subject I got this a couple of weeks ago from GM.
L32 lower intake. I didn't realize how much better the ports were on these over our ecotec LIM, and plenty of meat for porting to boot unlike the ecotec LIMs.

- IMG_1091_zpsqi7qz1tb.jpg (247.85 KiB) Viewed 3226 times
The ports are rectangular unlike our weird ones that narrow down at the bottom. Overall they are a bit bigger.
- IMG_1092_zpsd1flav0w.jpg (198.1 KiB) Viewed 3226 times
Inlet side is a LOT bigger than ecotec. I mean like 2x + the port area at the head. Has a nice radius too.

- IMG_1093_zpsrwna8zbr.jpg (218.41 KiB) Viewed 3226 times
Re: Vlad's rides thread
Posted: Mon Oct 31, 2016 8:05 am
by Holden202T
better ports + PSI = win

Re: Vlad's rides thread
Posted: Mon Oct 31, 2016 9:36 am
by vlad01
Damn straight!
Eaton/Harrop HTV1900 anyone?