Page 243 of 345
Re: Vlad's rides thread
Posted: Sat Apr 22, 2017 5:41 pm
by psyolent
jesus you have some dexterity lad stripping all that shit.
and they are are a damn good card. i still have one in an old unit with a breakout box with midi etc.
oh scored a commodore 1084p monitor today too. #maxwin. #retrocomputing
Re: Vlad's rides thread
Posted: Sat Apr 22, 2017 8:20 pm
by vlad01
Re: Vlad's rides thread
Posted: Sun Apr 30, 2017 8:20 pm
by vlad01
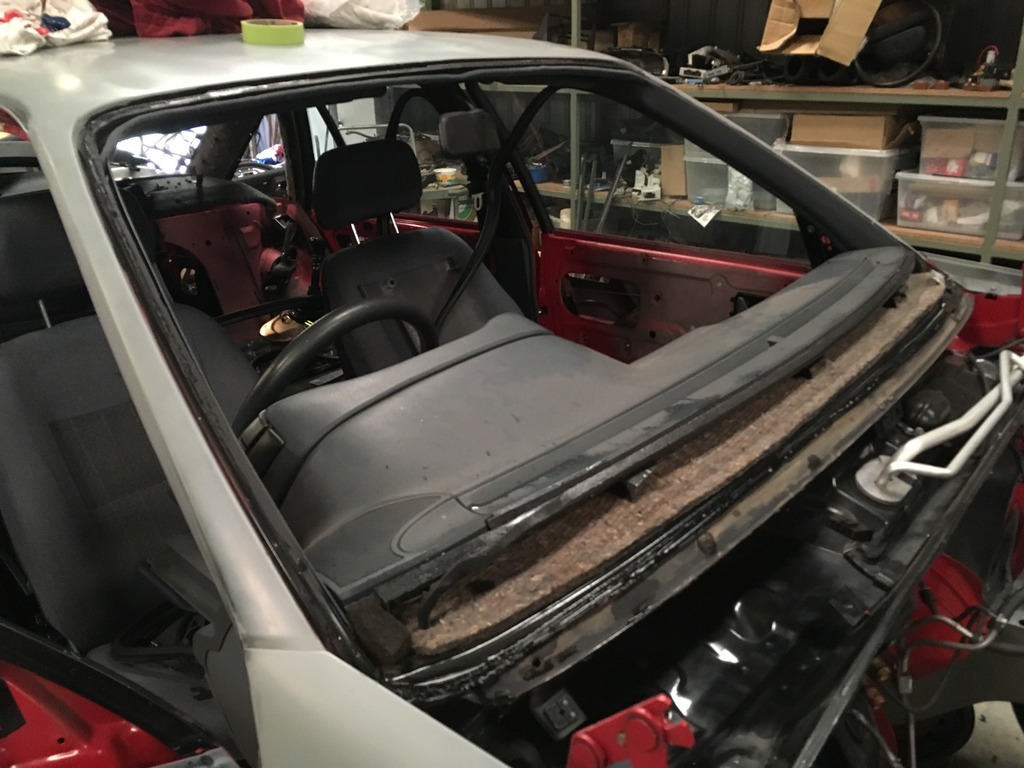
Screens out on Friday, sealant has mostly been removed already just need to wire wheel it to get the remaining crap off and I'll run my magic over the old paint.
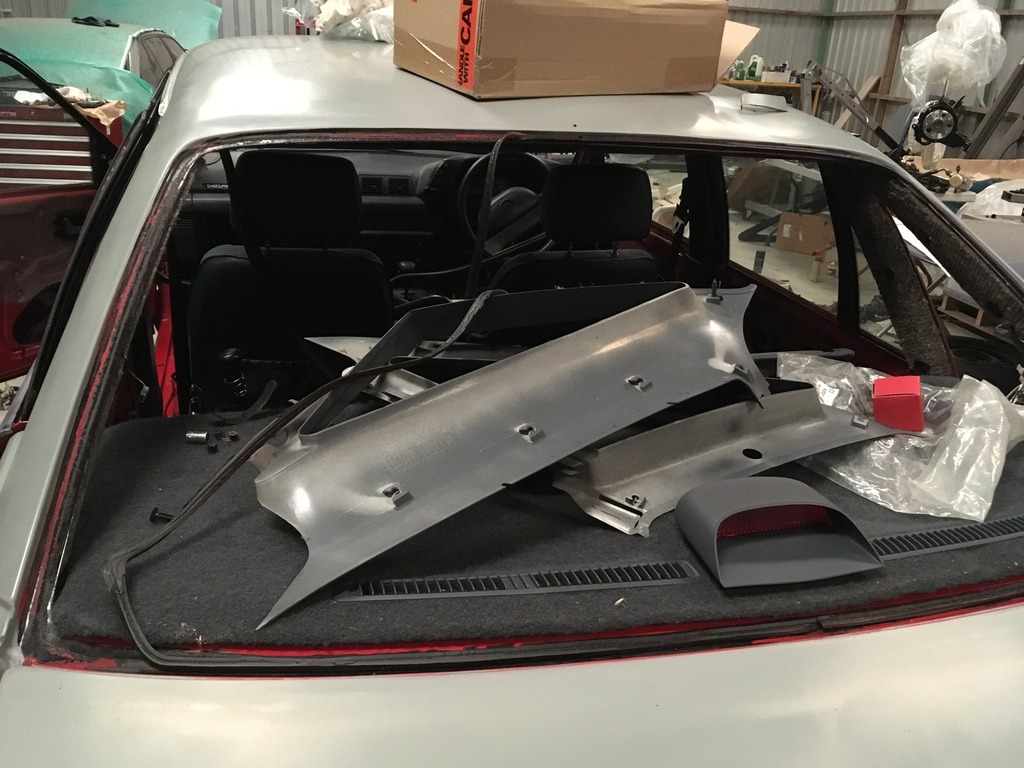
Car has been emptied and nearing showtime.
- IMG_1621_zpspevesmt2.jpg (190.6 KiB) Viewed 4449 times
- IMG_1624_zpscs4kgwwl.jpg (207.16 KiB) Viewed 4449 times
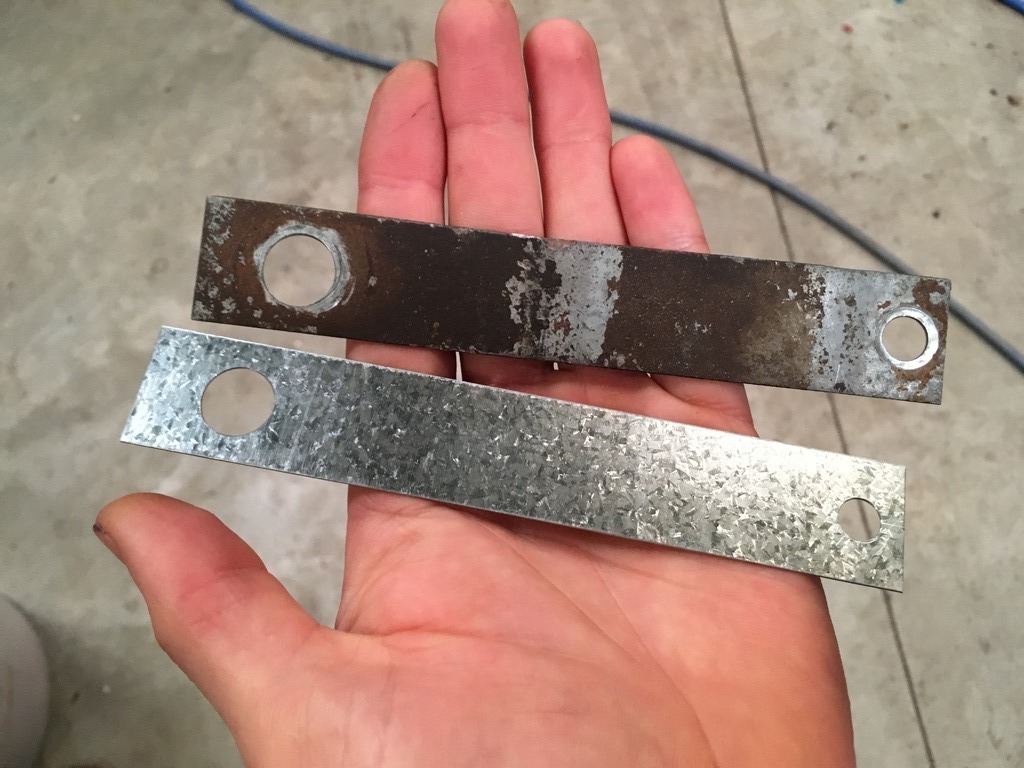
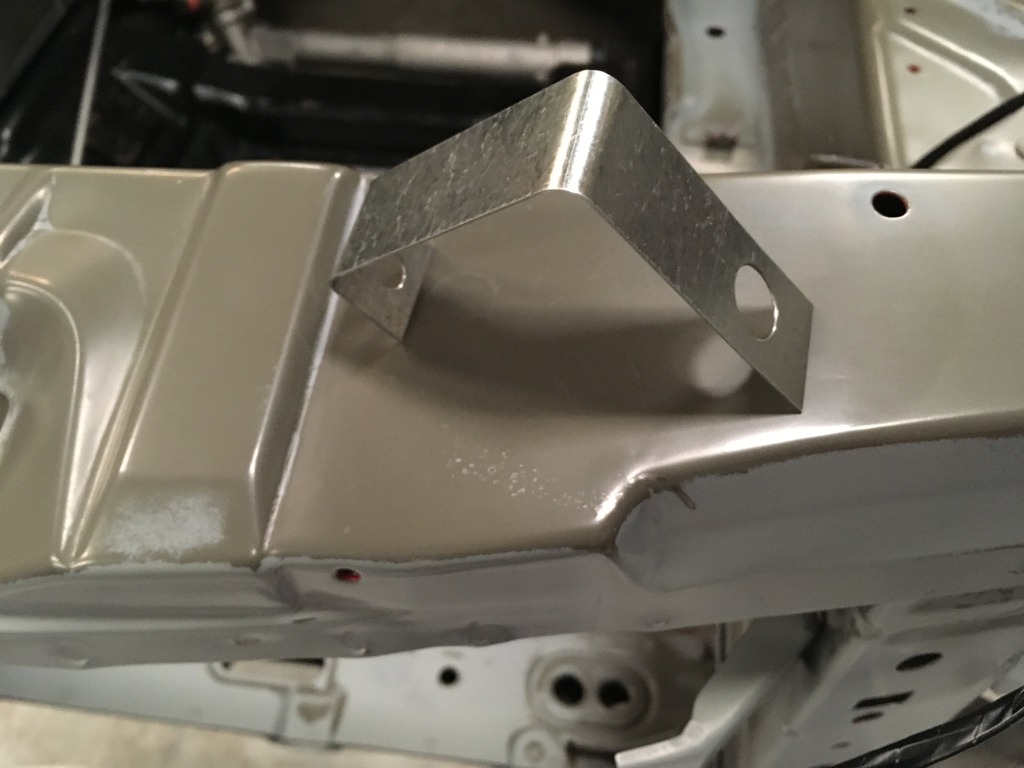
Made this. Its the security tab that goes on the T5 vibration dampener seen in the later photos down below.
- IMG_1622_zpsnfu083gq.jpg (181.34 KiB) Viewed 4449 times
- IMG_1623_zpsqtqco8jx.jpg (133.6 KiB) Viewed 4449 times
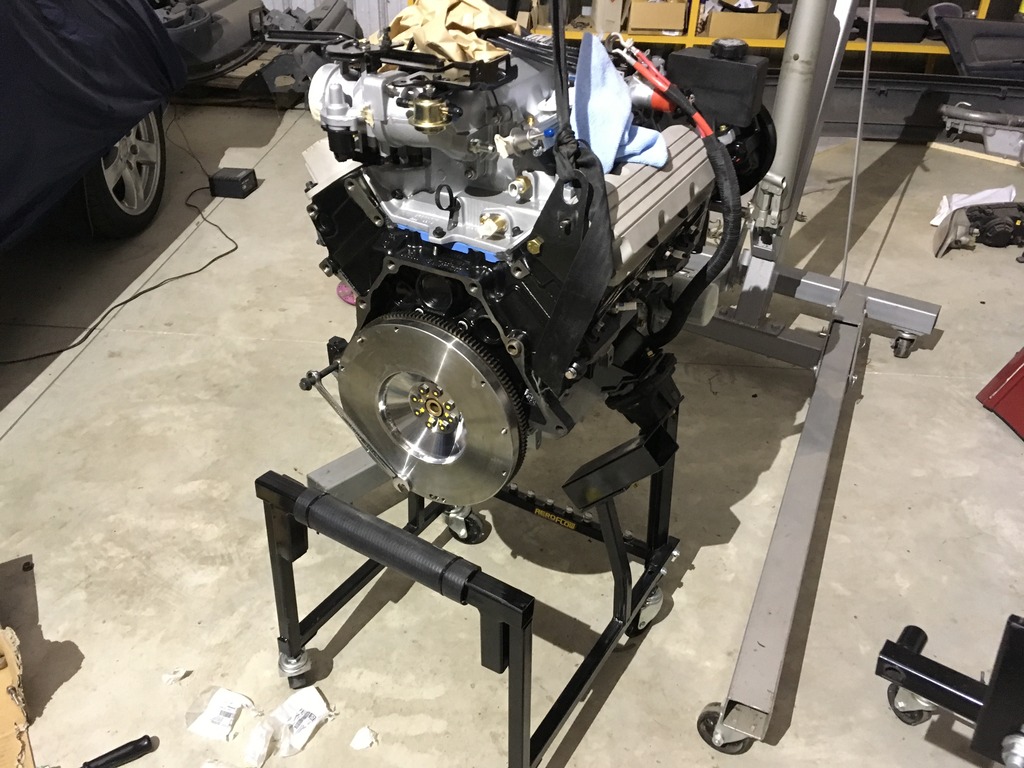
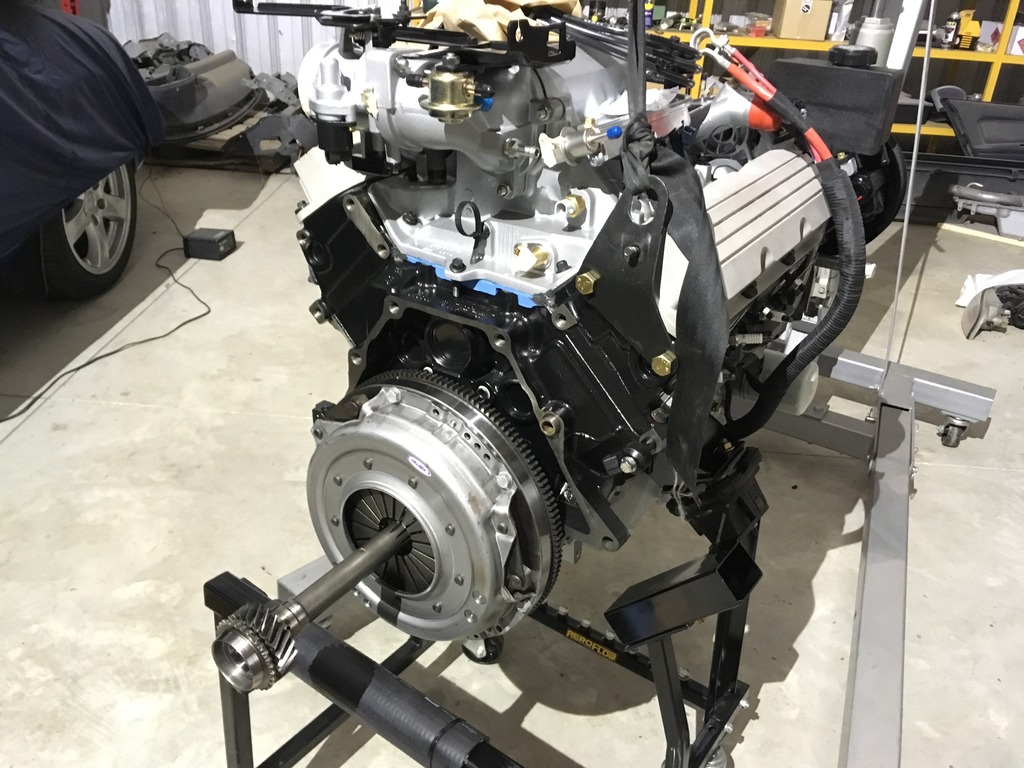
Now that I had the dust cover sorted I could work on getting that engine and trans mated finally.
Setting up the flywheel and clutch. No clutch adjustment data is available for aftermarket Holden T5 clutches in most cases. The stock pivot setting made the fork sit hard against the back of the window and partly engaging it. Stock is 102mm from pivot ball to bellhousing front face. I got 108mm in the end. What I did is worked out the travel distance in a full clutch cycle based on actual clutch pedal and cable range. This worked out to be 45mm.
The 108mm was just a figure I used from the extreme brand clutch I used in the VR as a starting point. After working out the 45mm travel I tested the clutch by operating the fork by hand until it gave and popped in as any good clutch does and measured the distance to where the clutch naturally wanted to pop to and yep, that happen to also be 45mm. So I knew the 45mm was correct and then the goal was to center the 45 travel in the window and after measuring fork clearance at the rear of the window at normal position and then the at the front of the fork at the natural engaged position the initial 108mm actually fluked the centering perfect.

So I also checked the side pins of the fork in the center bearing carrier slots, they are close but not touching one side when in home position. engaged they do the same but on the opposite side of the slots. So that means the pins travel arc is also centered in the slots, so there will be no binding.
End measurement for anyone to use with any clutch is to aim for 71-73mm give or take from the clevis point of contact to the rear of the bellhousing face. That way its a good ball park way to adjust regardless of clutch kit used as they vary wildly. Visually its 1/3rd of the window in its home position, travel is another 1/3 and there is 1/3 left spare room before it bottoms out on the window.
- IMG_1627_zpsfsxxfajx.jpg (227.13 KiB) Viewed 4449 times
- IMG_1628_zpsychm5l1c.jpg (229.97 KiB) Viewed 4449 times
Tadda!
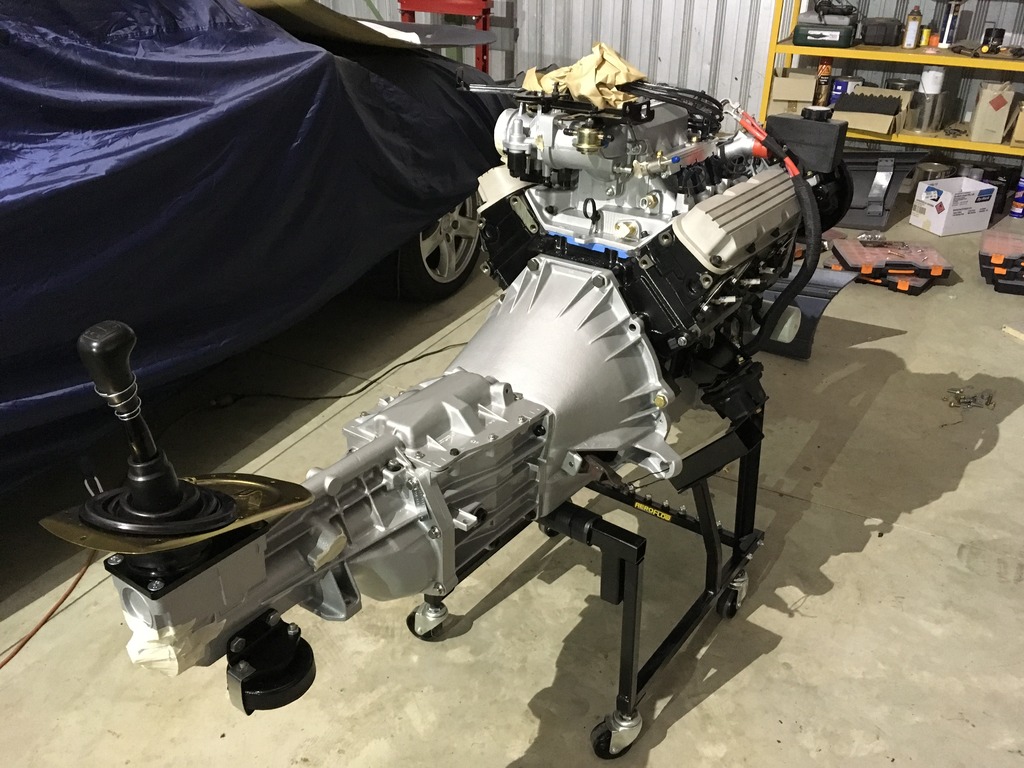
- IMG_1629_zps1en75amn.jpg (232.4 KiB) Viewed 4449 times
Bloody long unit!

- IMG_1630_zpscywdc9ji.jpg (224.69 KiB) Viewed 4449 times
Re: Vlad's rides thread
Posted: Sun Apr 30, 2017 8:28 pm
by Dylan
Looks mint good work mate
Re: Vlad's rides thread
Posted: Sun Apr 30, 2017 8:35 pm
by vlad01
Thanks!
Not far now before the body is really to go. Hopefully end of the week or next. Though I still need to get a battery tray but I'll see how I go.
Re: Vlad's rides thread
Posted: Sun Apr 30, 2017 11:01 pm
by FXST02
Vlad,
Outstanding, keep up the great work and keep the pictures coming.
Is there anything on the VP half arsed?
Re: Vlad's rides thread
Posted: Mon May 01, 2017 8:09 am
by MAGP
I haven't seen a Commodore engine and gearbox/transmission that clean ever. Even from factory they had oil leaks and gunge on them.
Good work.
Re: Vlad's rides thread
Posted: Tue May 02, 2017 2:46 pm
by vlad01
Cheers everyone.
but it ain't over until the fat lady sings.
There is a couple things I might do to it as things progress. After getting m hands on e-coating I'll be redoing a couple of the brackets around along with the VH512 booster housing.
The VP S in the future is getting everything that's factory black e-coated within reason. Obviously can't do the diff but I may do that in 2 pack epoxy primer and 2 pack black as I found the 2 pack black along the door frames and door sill bottoms as is bullet proof virtually.
Re: Vlad's rides thread
Posted: Thu May 04, 2017 1:02 pm
by vlad01
Holy shit! my eyes fell out of my head when I saw this.


.....Mine!
http://www.ebay.com.au/itm/282415211287
Re: Vlad's rides thread
Posted: Fri May 05, 2017 10:01 pm
by vlad01
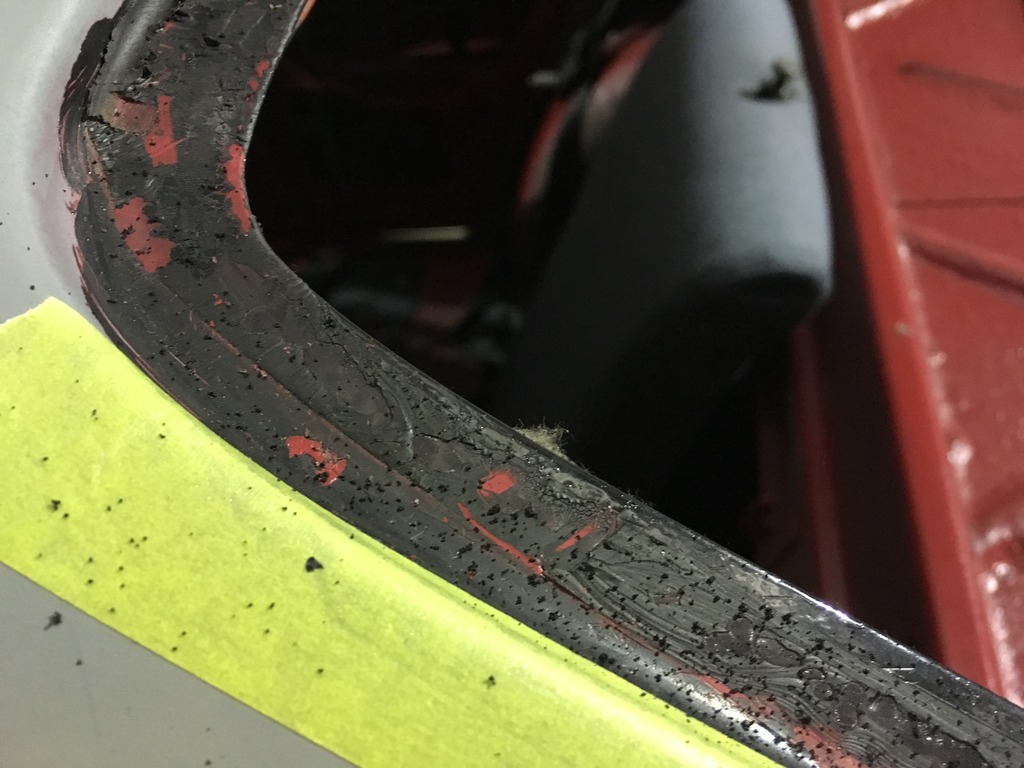
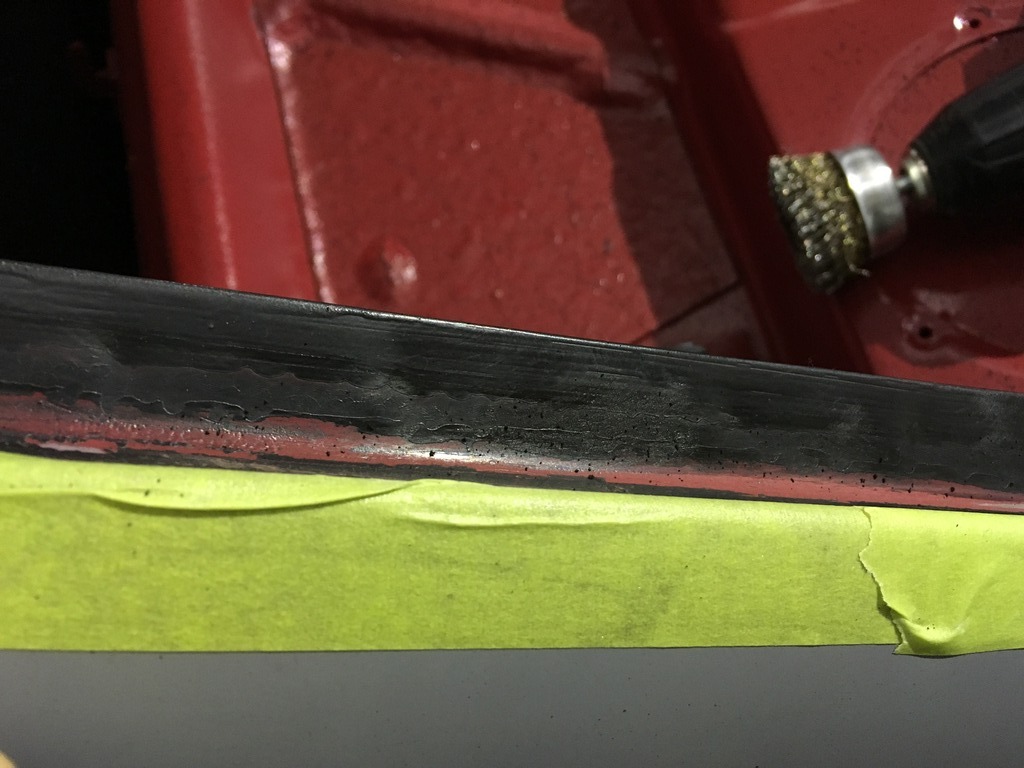
Time to wire wheel this sealer off.
- IMG_1645_zpsuxk8tzx2.jpg (171.08 KiB) Viewed 4449 times
After. You can see that 2 pack black paint is like armor lol
- IMG_1644_zpsmftcnpui.jpg (157.28 KiB) Viewed 4449 times
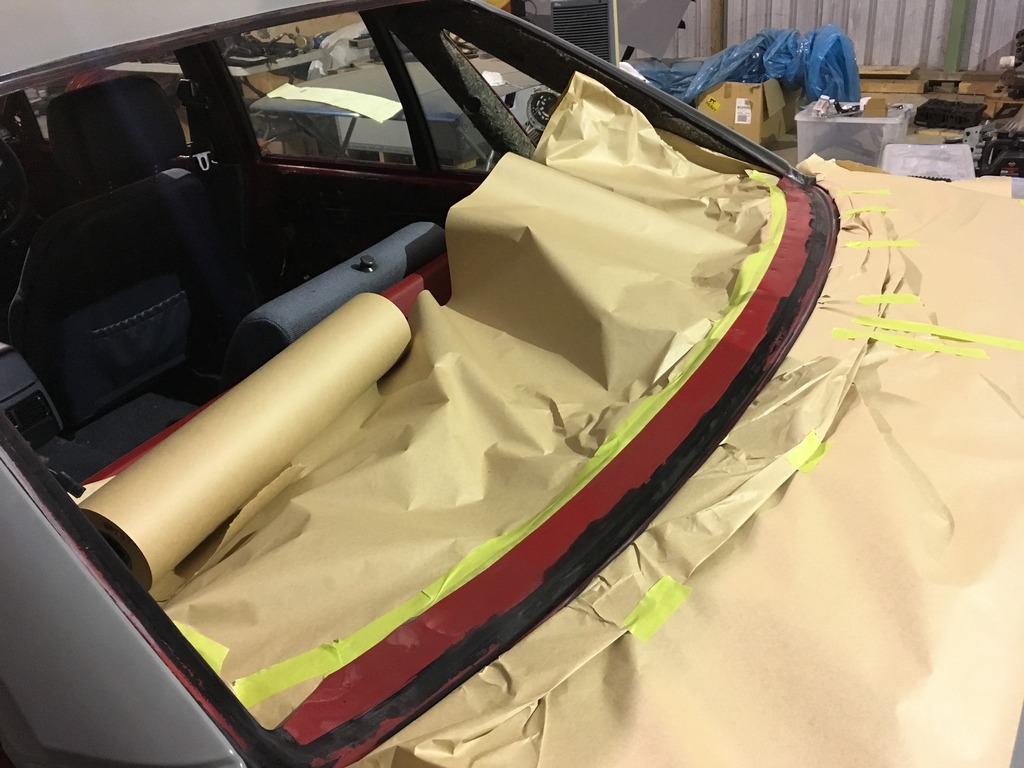
Mask it up.
- IMG_1647_zpsf5c9lqje.jpg (185.84 KiB) Viewed 4449 times
All cleaned up as best as i could. Obviously that black crap will need to be flappy or corral disked away and all 2 pack epoxy primed but I'll leave that to the shop.
- IMG_1651_zps61wb2agc.jpg (203.16 KiB) Viewed 4449 times
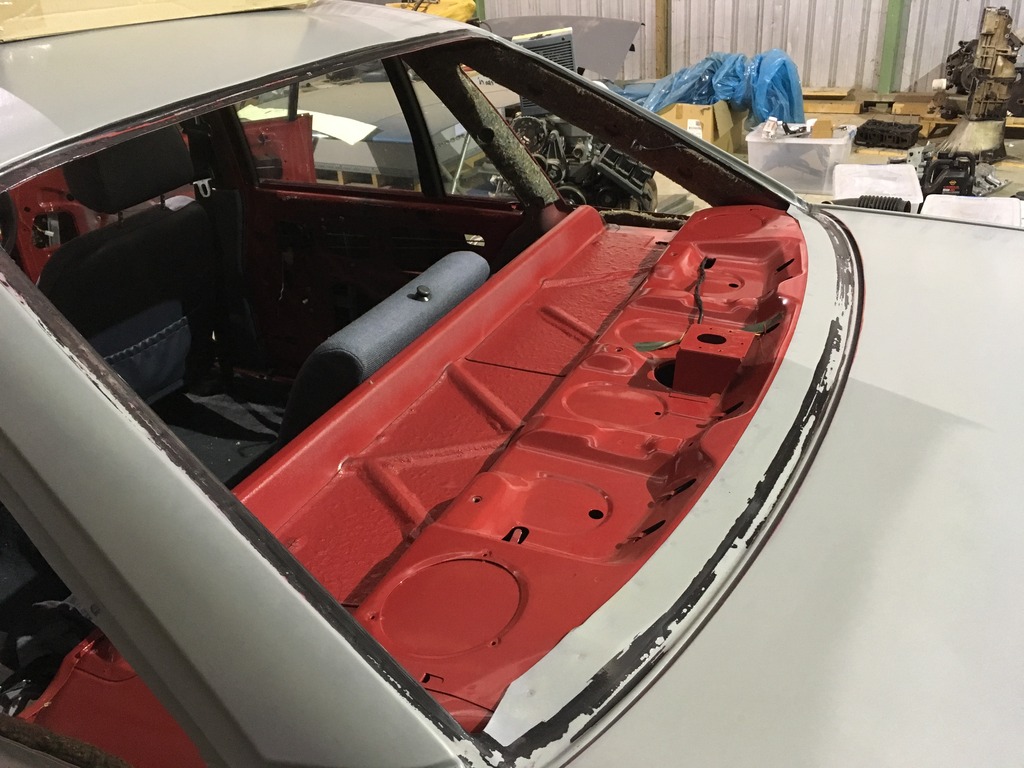
Front done.
- IMG_1652_zpspa84coer.jpg (163.35 KiB) Viewed 4449 times
Now I just need some more kiwi pack spoons, all out

got half way through picking out the seal sealer on the remaining roof gutter and I broke it twice. They have a nasty habit of unexpectedly shattering and then your palm smashes on to the shards. Only hurts a little
Started on the fuel cap, nice easy one that. Just need to find a long bristle soft brush to clean off the paint with acetone in all the structural cavities of the fuel cap and hinge.
Apart from that I'll remove the rear calipers and disk shields to work on them while the car is gone, so I think its just about ready as far as I can see.