Page 6 of 345
Re: Vlad's VP executive
Posted: Thu Feb 14, 2013 12:23 pm
by vlad01
great! looks like I am on track, so how does one calculate the injector rate from this?
And there is a rate parameter in $12P?
Re: Vlad's VP executive
Posted: Thu Feb 14, 2013 12:41 pm
by The1
Re: Vlad's VP executive
Posted: Thu Feb 14, 2013 2:38 pm
by vlad01
great! 0.094 is what I got, sounds right?
Re: Vlad's VP executive
Posted: Thu Feb 14, 2013 5:21 pm
by Holden202T
other way you can do it is work out the difference between the old and new then apply that to the injector rate.
Re: Vlad's VP executive
Posted: Sat Feb 16, 2013 3:45 pm
by The1
Re: Vlad's VP executive
Posted: Sat Feb 16, 2013 10:05 pm
by vlad01
yeah seen those, they are reco'd. I want new ones or reco by someone I can trust.
I might have someone who can do this just waiting on the reply.
anyways some updates.
got a new bonnet today. put the old one on my vacationer and drove to the wreckers, bought the new one and they help me change it over while I was there and dump the old one.
Drove back wit the new bonnet, then put the vacationer one back on. 3 different colored bonnets in one day

gave it a clean inside and out real good with the degreaser from the car wash again.
This bonnet has one 20c coin sized dent and that is all. All original paint so there is no bog on this one nor excessive layers of paint.
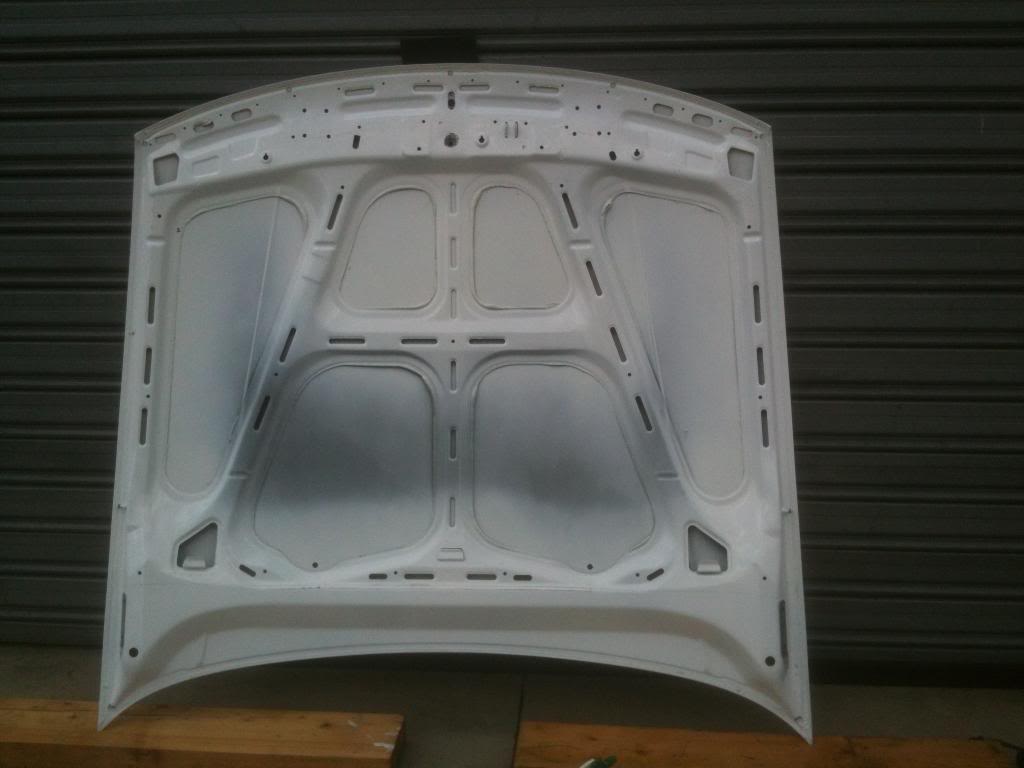
- IMG_0376_zps84074cc6.jpg (52.33 KiB) Viewed 9038 times
my battery tray has been sand blasted, degreased with water based pre paint degreaser, metal ready (phosphoric acid + zinc phosphate), POR15 rust preventative paint, etch primer and now seam sealer. just need to hit it once more with the seam sealer as it shrinks. then its ready for another coat of primer.
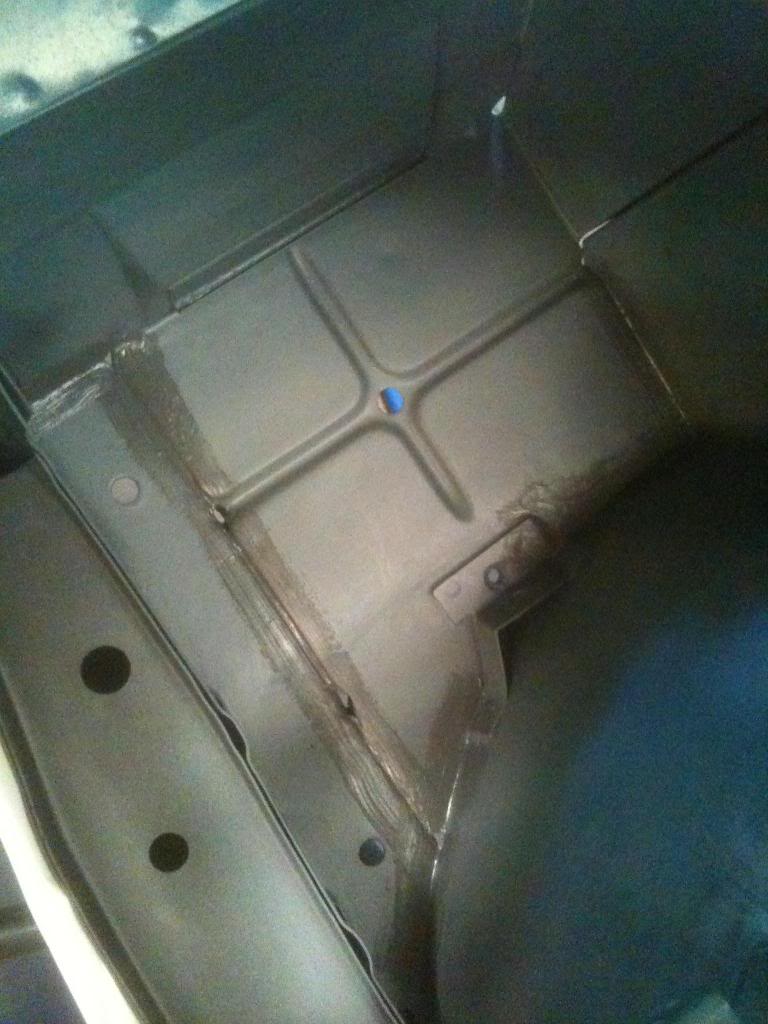
- IMG_0375_zps18e663fb.jpg (82.73 KiB) Viewed 9038 times
getting close to getting all the paint off the rear bumper.
Surprisingly its just about perfect under the old paint. only marks to worry about where those from me trying to scrap the paint off as its not dissolving easy with any of the paint strippers I have used. the diggers brand is working the best.
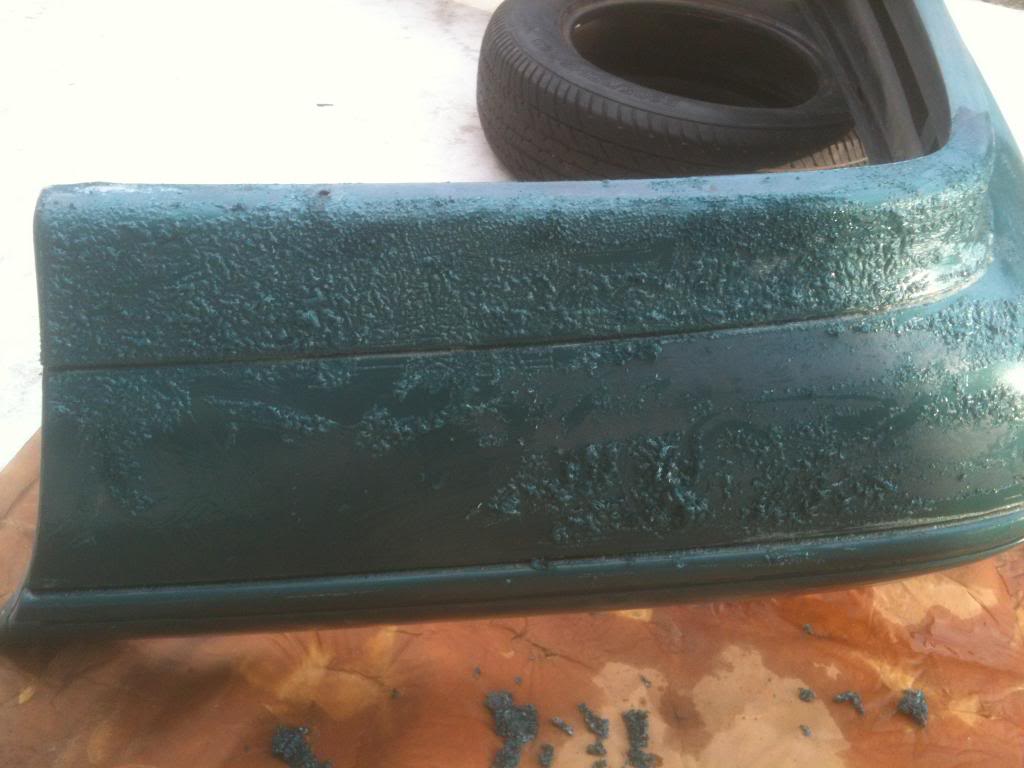
- IMG_0377_zpsa923910e.jpg (75.73 KiB) Viewed 9038 times
Re: Vlad's VP executive
Posted: Sun Feb 17, 2013 1:41 pm
by delcowizzid
cover it in stripper and wrap it in gladwrap or any other type of plastic you can find will work real good
Re: Vlad's VP executive
Posted: Sun Feb 17, 2013 9:12 pm
by vlad01
digger brand stuff is working well enough for me, few minute and 2 to 3 applications gets it all off. As the bumper is plastic I don't want to leave it for long periods as I don't know what effect that will have on it.
last time I used paint stripper on a painted plastic part it melted it straight away

anyway, more progress today.
both front panels cleaned and all trim and decals cleaned off and traces of glue gone.
Also the same with the replacement door.
did some more seam sealer today and also test fitted the panel that came off the car to note the screw hole placement for the statesman mud flaps. then I realized who ever fitted them made unnecessary holes in the bottom of the door sills. There is enough room to place a speed nut and medium length screw on the panel only and not need to screw into the sill.

So if I can get hold of a mig soon I might tack those screw holes up.
btw this panel is a genuine Holden replacement panel the previous painter fitted. its the only thing they actually did right on this car
It will be a shame to have to rub it back. looks like a mirror and is dead straight and no rust. Even had the genuine holden sticker on the inside.
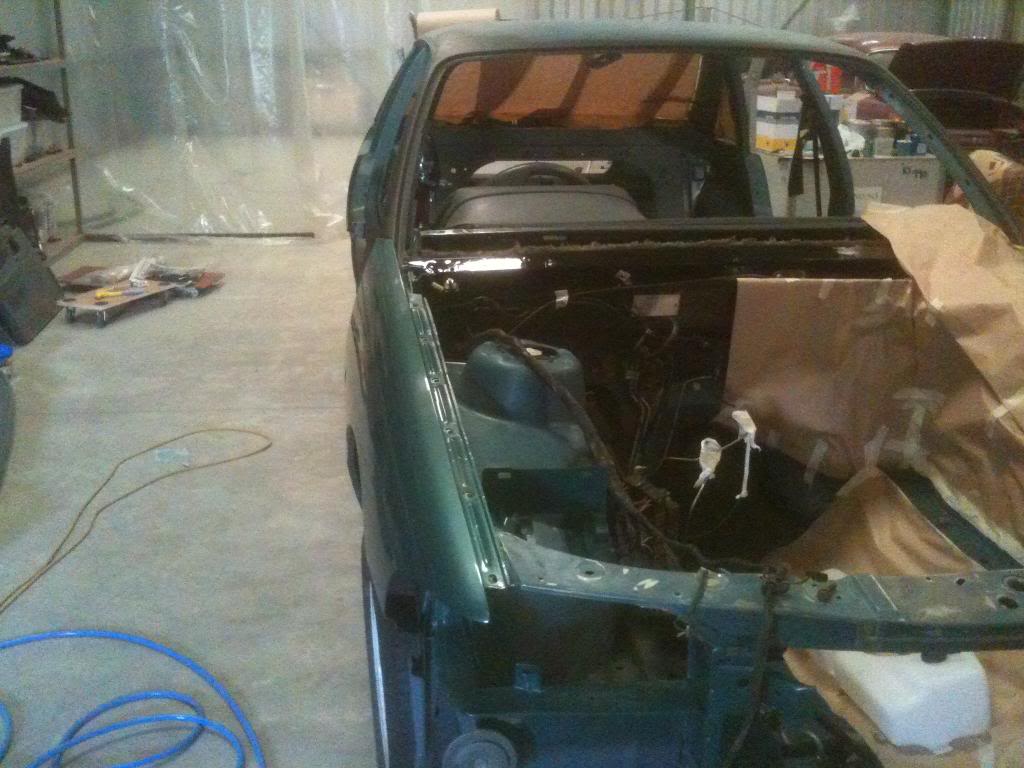
- IMG_0379_zpsf7ff523a.jpg (95.82 KiB) Viewed 9038 times
Re: Vlad's VP executive
Posted: Fri Feb 22, 2013 2:45 pm
by vlad01
Ok some great news. just about everything is in primer now, just need prep the boot lid as I had to get a new one (the frame was cracked near the hinge brackets) , get a new front bumper and finish the rear bumper repairs.
I worked out how to restore factory seam sealer so it looks original.
for people's reference this is how its done.
Pick out all loose seam sealer
sand blast any rust out (i had none)
sand and scotch brite the shit out of those areas, even washing with thinner is a good idea to help the primer stick
prep wash it good many times
Prime it
Masking tape to the edges of the original seam sealer.
Apply seam sealer,
run finger to level it.
brush it smooth with a brush( can be damp with thinner to help smooth it better)
Rip off the masking tape right away while seam sealer is fresh.
This gives a smooth original look. mine turned out great and can barley tell its even been replaced as it seamlessly (no pun) blends from the new to the original sealer.
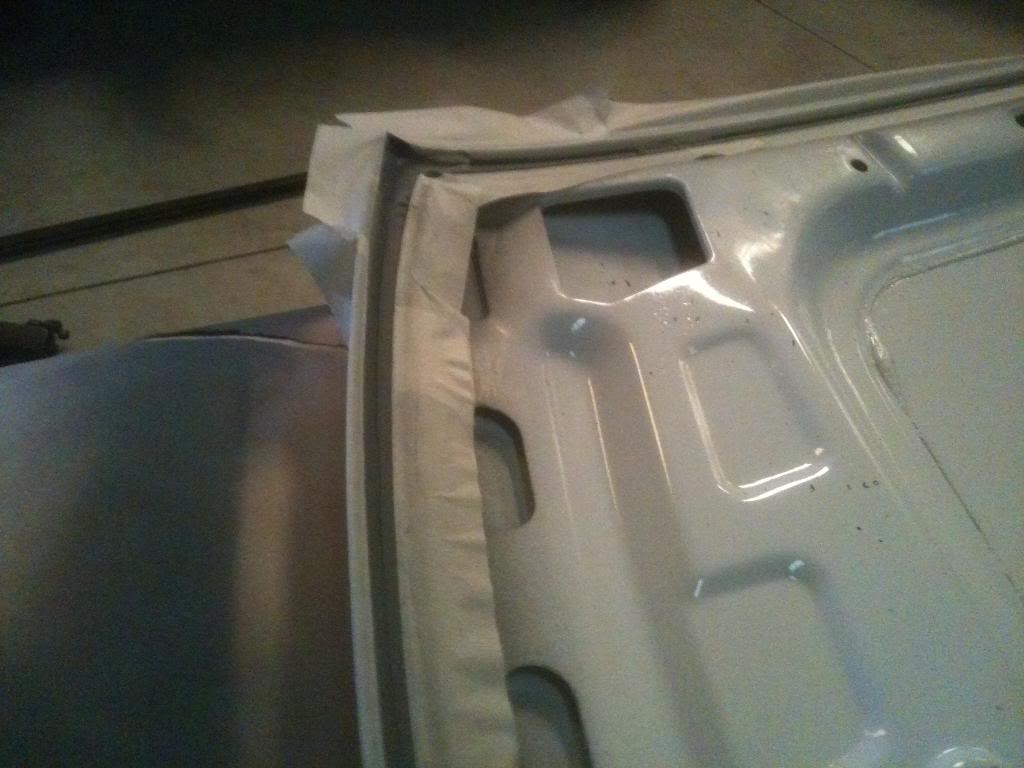
- IMG_0381_zps84c00a48.jpg (70.77 KiB) Viewed 9038 times
Now for the pics of the primer

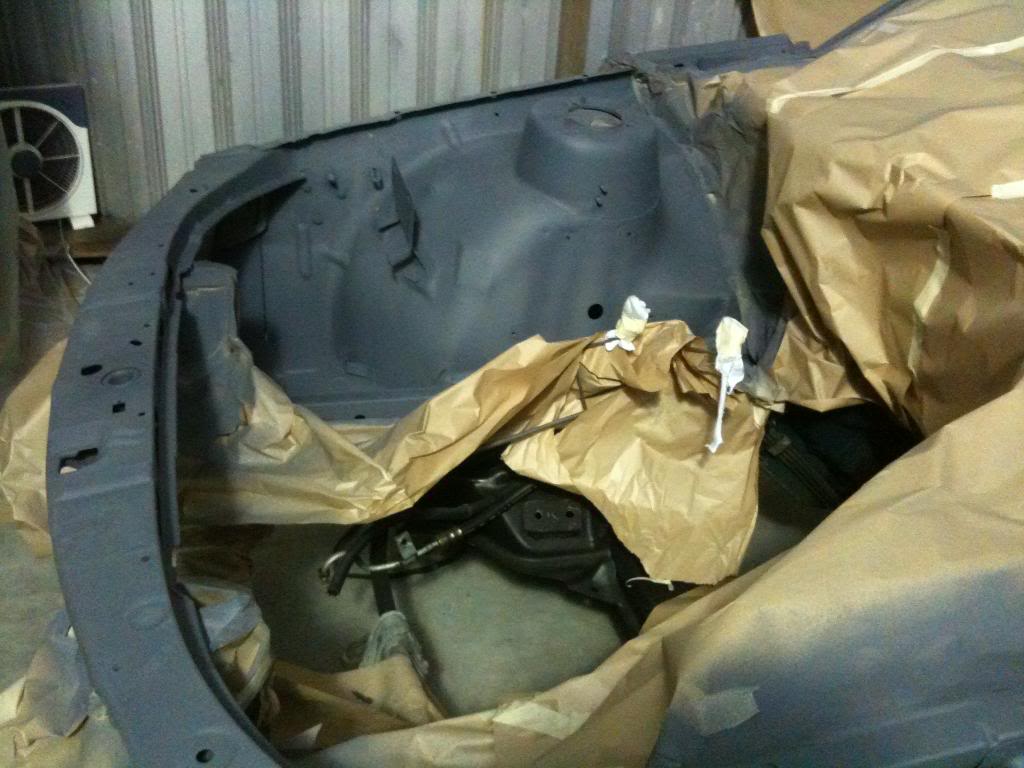
- IMG_0384_zps07e70cde.jpg (92.22 KiB) Viewed 9038 times
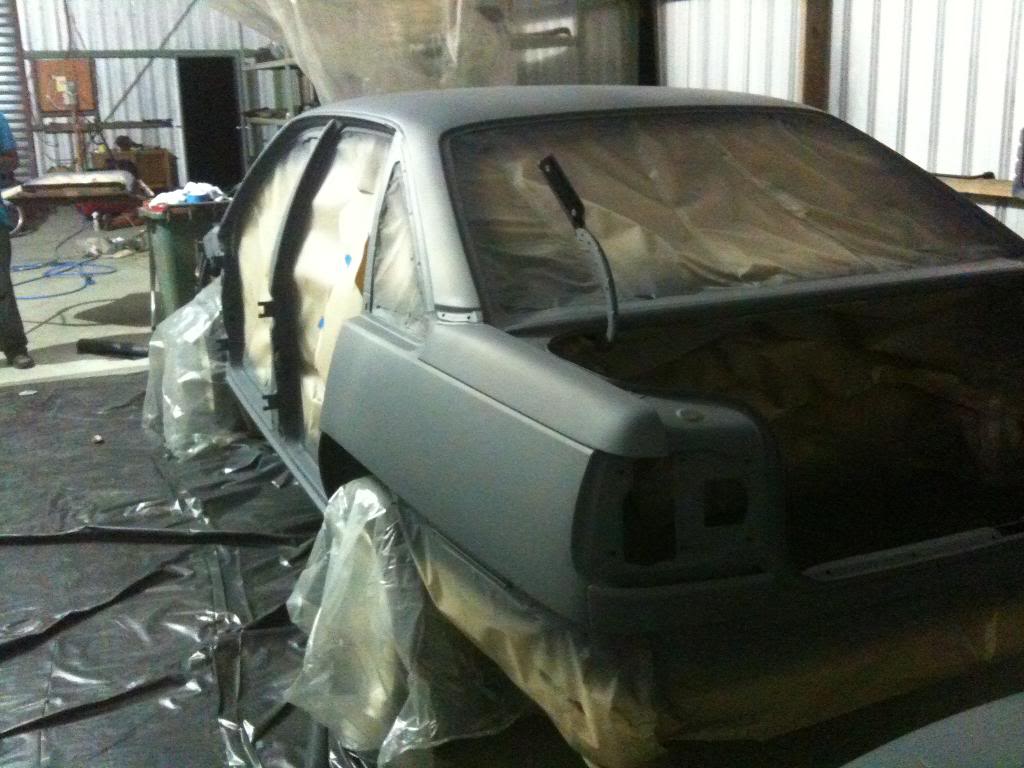
- IMG_0383_zps8b65332a.jpg (96.06 KiB) Viewed 9038 times
Re: Vlad's VP executive (full restro)
Posted: Fri Feb 22, 2013 3:13 pm
by FXST02
It's looking good Vlad
