Page 7 of 345
Re: Vlad's VP executive (full restro)
Posted: Sat Feb 23, 2013 6:01 pm
by vlad01
had some wierd problem with the primer on the bonnets. apprears either there was crows feet that we couldn't see or the sun damaged paint swells then shrinks from the primer making it all cows feet looking.
So I started to sand it all off but I couldn't get far as it clogged the paper straight away, then I got an idea.
I used thinners to dissolve all the paint off and I knew it wouldn't touch the EPD coating. well pics show the results.
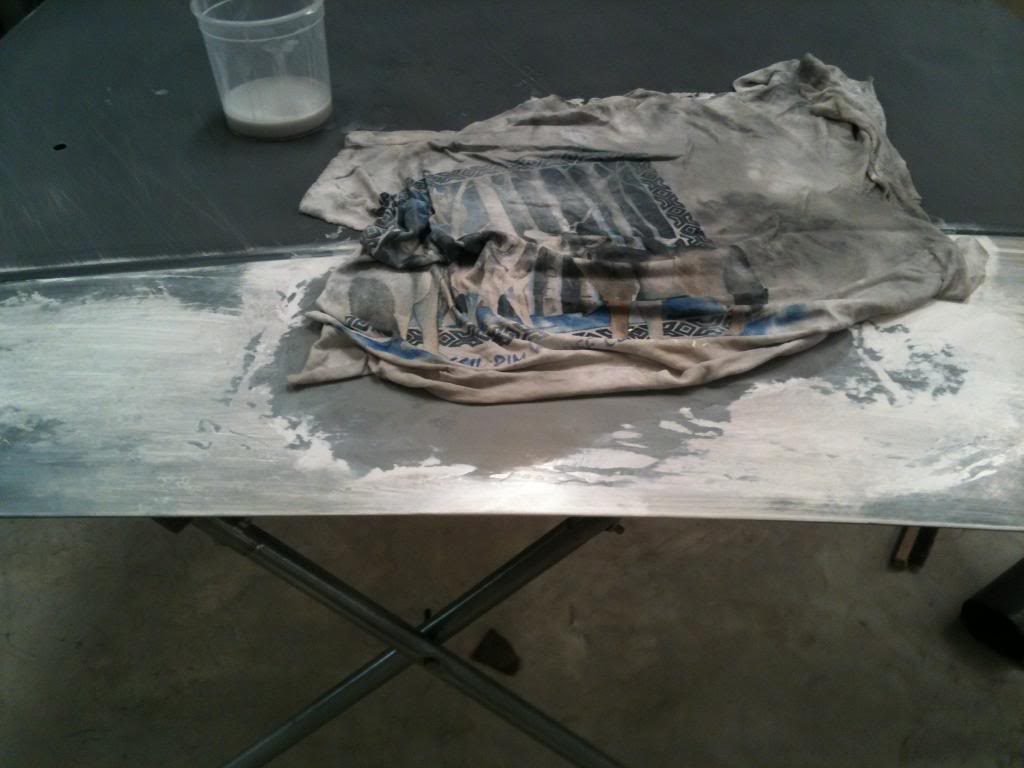
- IMG_0394_zps40f8b2c2.jpg (67.84 KiB) Viewed 8676 times
and final result. Its like a NOS bonnet just about

back on track, might use this method on the new boot lids since its a burgundy colour and has crows feet too.
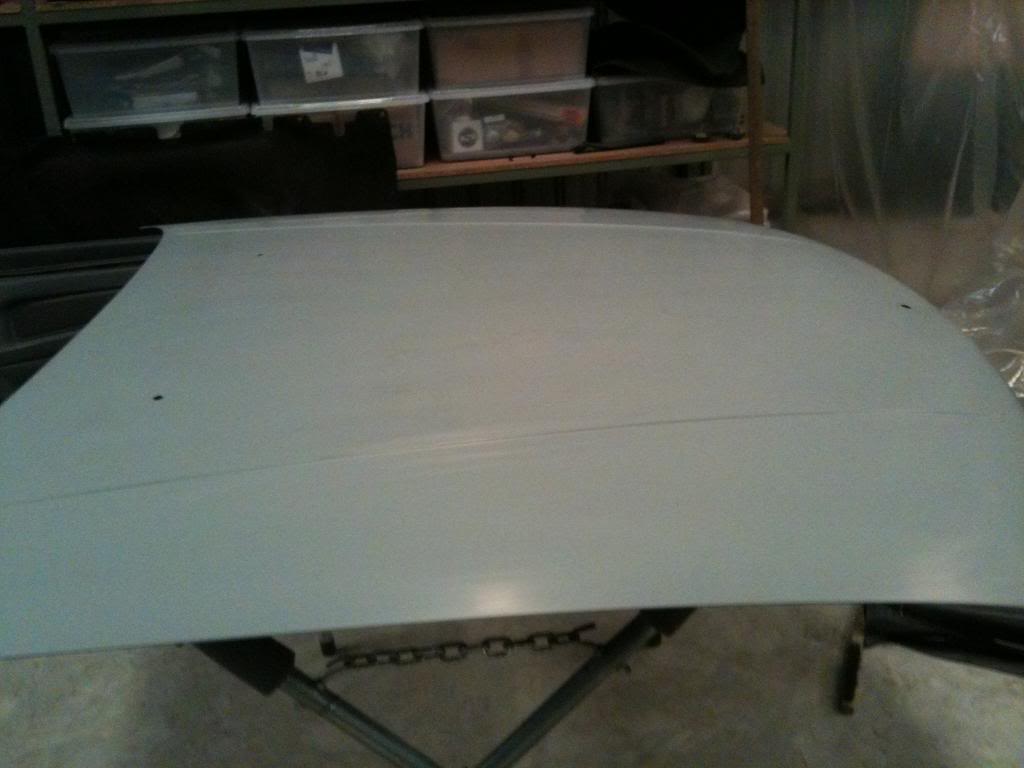
- IMG_0397_zps32e22860.jpg (51.91 KiB) Viewed 8676 times
Re: Vlad's VP executive (full restro)
Posted: Thu Feb 28, 2013 12:05 am
by vlad01
had many set backs atm. mainly with the boot and welding crap, I hate migs

and not to mention the weather, over 4 days of 95% humidity and heaps of rain.
Anyway Ill sort things out one way or another.
Got a question, what do VP mud flaps look like,car find any references to them. Looking at getting these but I thing these are VR VS spesific?
http://www.ebay.com.au/itm/VR-VS-Mud-Fl ... 4ac18968f6
Re: Vlad's VP executive (full restro)
Posted: Thu Feb 28, 2013 8:12 am
by darcy
Those are wearing the badge only introduced with VS.
VP mudflaps should be essentially the same, but with a period correct logo. It might have just been a moulded logo on VP.
Re: Vlad's VP executive (full restro)
Posted: Thu Feb 28, 2013 8:48 am
by Dazza92VP
i think ive got genuine on my vp i can take a pic and send it through to you later today if you want?
Re: Vlad's VP executive (full restro)
Posted: Thu Feb 28, 2013 7:02 pm
by vlad01
I recall my vacationer was plan flaps with no logo? I took them off as they went rock hard and anything that brushed them tore them clean off the car screws and all. Got sick of that so I tossed them many years ago. Those looks correct for the front but there was no badge on the back that I remember.
Now I have got a guy I know out with a welder. 1. welder is an abomination, he borrowed it off his work mate. 2. he has no experience with sheet metal welding, I did better first go but I need somone who does cars specifically, TIG is ideal. I seriously dislike MIG on car repairs looks crap and warps the shit out of everything but can be done ok provide experience is at hand. TIG or Oxy is what proper car restorers use though.
I live central vic and I need some very minors welding done like few weeks ago. Its proving impossible and as you can see the car is now set not to be moved.
Anyone out there that can help me out?
I am also after a rear bumpers thats damage free a with OG paint.
Re: Vlad's VP executive (full restro)
Posted: Fri Mar 01, 2013 8:16 am
by Holden202T
geez i reckon your going to get less warp with a mig than oxy

Re: Vlad's VP executive (full restro)
Posted: Fri Mar 01, 2013 12:24 pm
by charlay86
mig or tig with silicon bronze (CuSi) wire

Re: Vlad's VP executive (full restro)
Posted: Fri Mar 01, 2013 9:34 pm
by vlad01
Holden202T wrote:geez i reckon your going to get less warp with a mig than oxy
its easier to use at least imho
Re: Vlad's VP executive (full restro)
Posted: Fri Mar 01, 2013 9:35 pm
by vlad01
charlay86 wrote:mig or tig with silicon bronze (CuSi) wire
thats a great idea. thanks
Re: Vlad's VP executive (full restro)
Posted: Wed Mar 06, 2013 10:00 pm
by vlad01
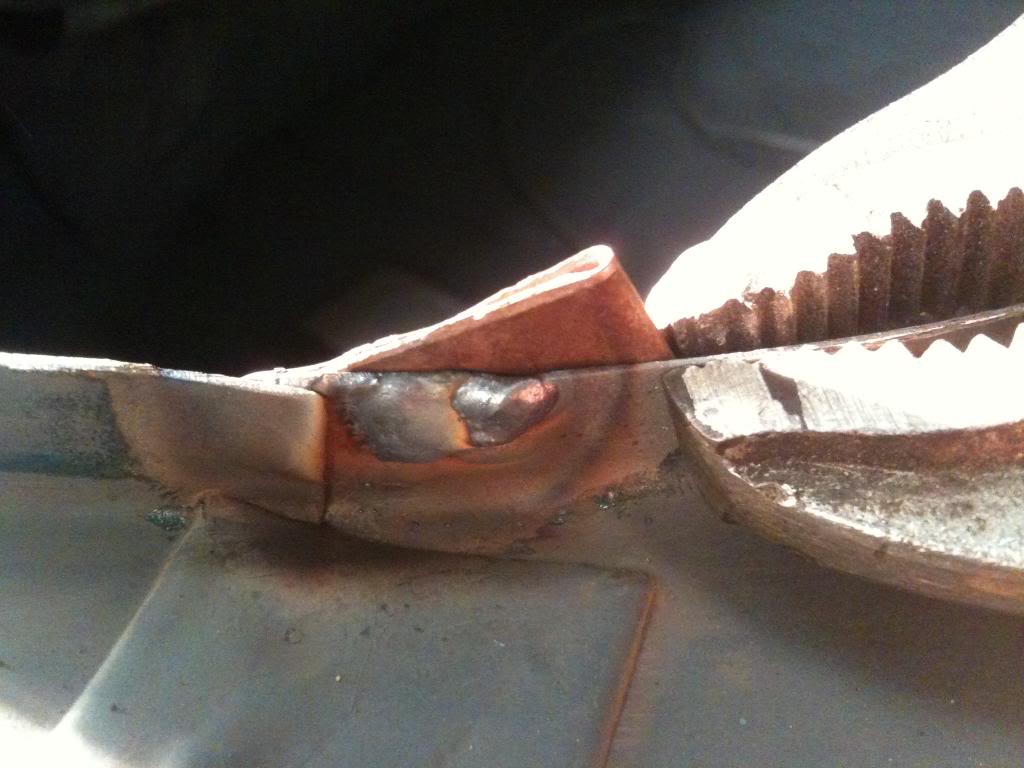
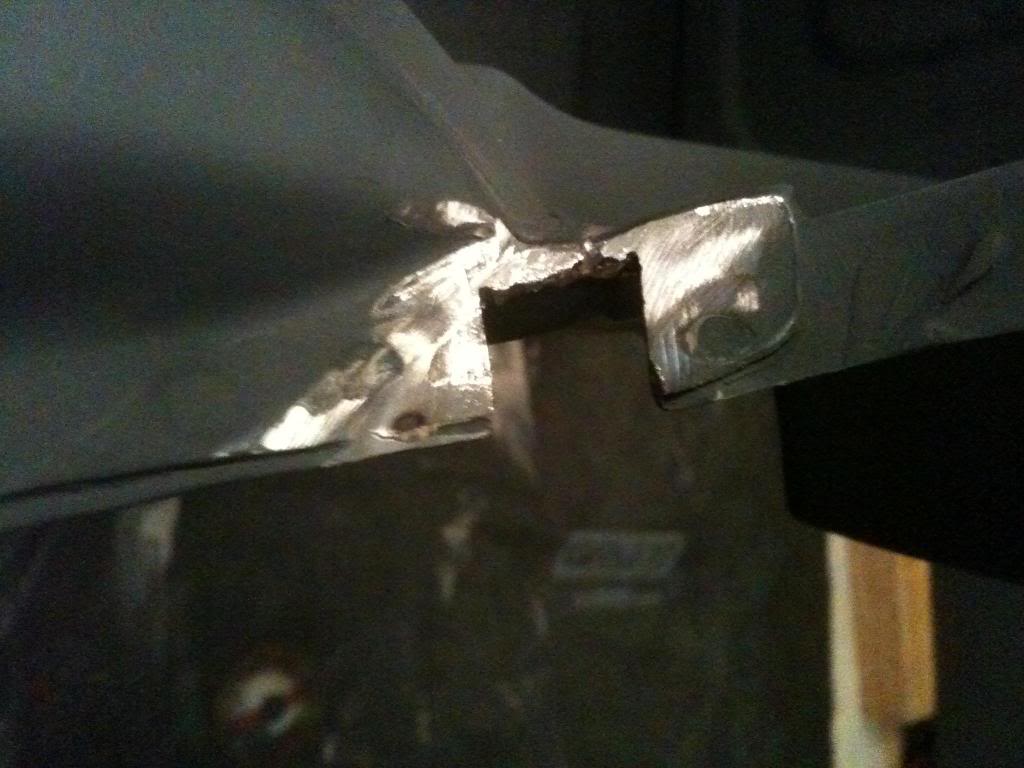
well, I put the mig aside as I sucked at t or it sucked?
I had the opportunity to use the auto mask and shield gas and setup my old tig I bought 3 or 4 years ago but never used it. It was actually not working when I bought it but since i am in the electronics field I repaired many faults with it but didn't know if I was successful or not til now.
worked perfect!
So I started to put some of my tig knowledge I learned off the net to practice.
pics will explain it better.

- IMG_0414_zps6e59266f.jpg (68.96 KiB) Viewed 8676 times

- IMG_0415_zps7920b9aa.jpg (53.84 KiB) Viewed 8676 times
other side.
- IMG_0420_zps84330f1e.jpg (73.8 KiB) Viewed 8676 times
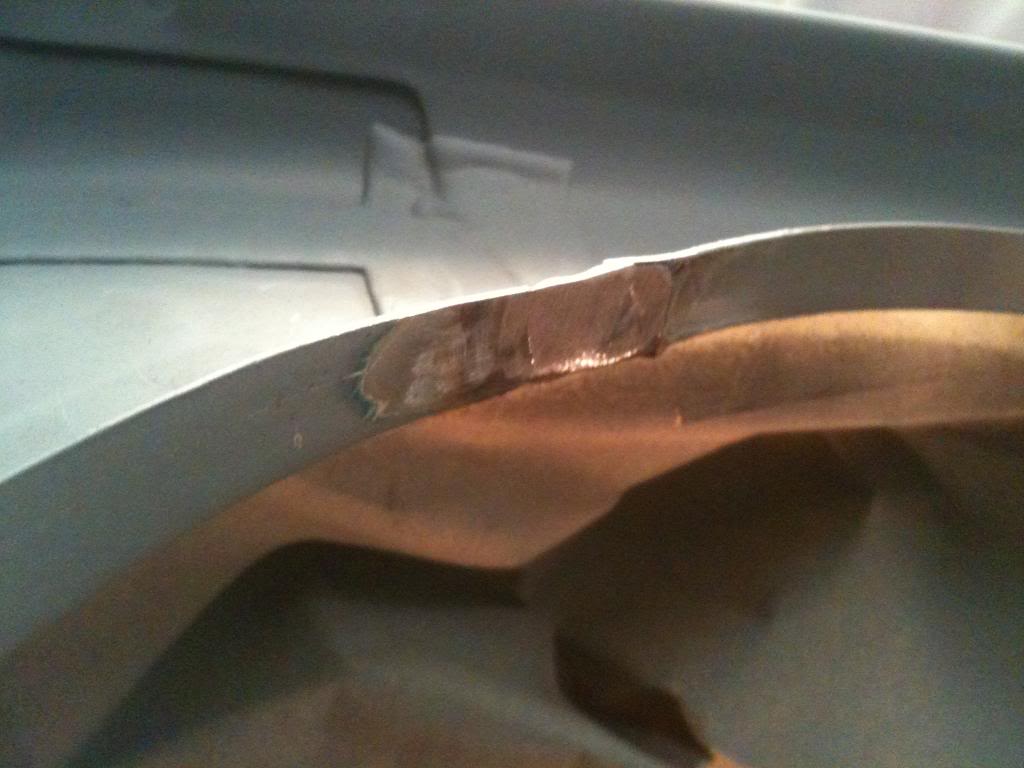
- IMG_0417_zps7f96c394.jpg (63.92 KiB) Viewed 8676 times
Then the bottom one. Cut out the swiss cheese.
- 0caa18fe-3137-41e3-8697-9ccbddbf594f_zpsb418f2d6.jpg (73.81 KiB) Viewed 8676 times
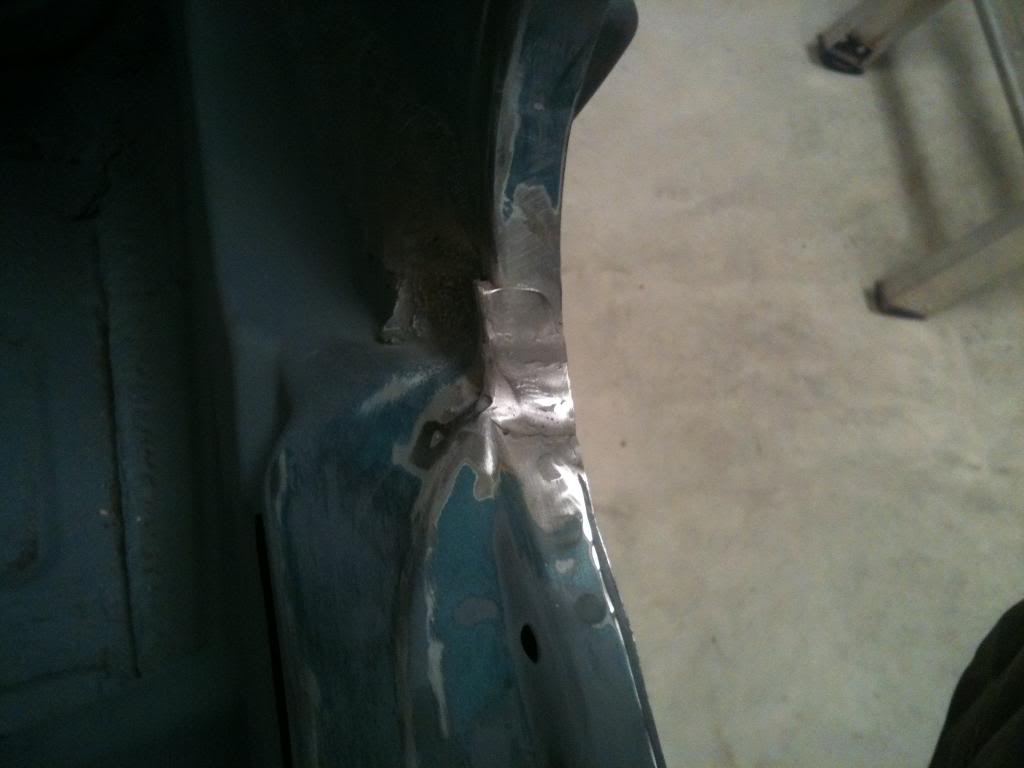
- IMG_0424_zps68d4f1ed.jpg (44.52 KiB) Viewed 8676 times
Also got the bonnet all primed after removing all the old paint. Also managed to push the little dent out but made it a little ripply in the process but overall it will only require high build primer to flatten it instead of bog now. You can only do so much when the dent is on a non accessible part of the frame. I used a large nail bent like a banana to get inside and push the dent up to a workable flatness via the bonnet latch screw hole.