Been a while but been a bit busy.
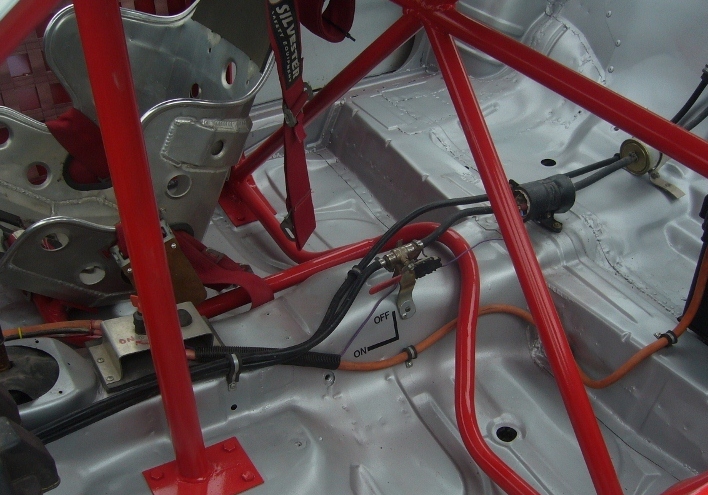
- I HATE WIRING - eliminated a bunch of wires, come across a few faults that have plagued me due to severe abuse over four seasons of racing and made a few changes like relocating where the starter cable comes through the firewall making the cable heaps shorter and a lot less likely to get melted on the exhaust - again. Having the right wiring diagrams to work off this time is a huge help. I found out the hard way the one in the Haynes manual is a generic piece of shit that had me tearing my hair out for ages ( only thing i bought the bloody book for too ).
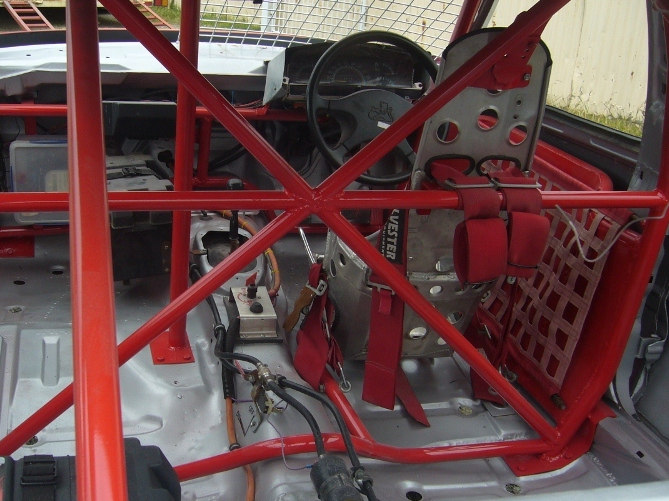
When the cage was out i cut the seat mounts off and slightly relocated them and i'm wrapped with the new position although it will take a little bit of getting used to as i changed the angle a bit (arse towards centre) which shoulld take some side impact off my back/neck IF i hit the wall. I'm now absolutely convinced the old shell was bent and twisted before i got hold of it so the handling should be interesting - it'll either be fast out of the box ( yeah right ) or i'll spend most of the season chasing my tail trying to sort it out. Going to fit the FE2 front bar that came with the new shell which should help the mid corner on the gas push for the wall but i might just start with last years setup first and go from there, got a mini spool on its way too, by the end of last season the LSD was fried and slowing me down considerably.
Stoked with the wife and a couple of mates for getting stuck in. The missus did a heap of sanding and some masking, the mate that was only supposed to show her the best way to mask it up took over then sprayed it white while i was at work one day, that night i was playing catchup putting bits on the car, next lunchtime (joys of living close to work) had a discussion about where the red was going, came home after work and it was done =D> =D> =D> =D>
Interior race ready.
- 042 (800x600).jpg (242.54 KiB) Viewed 5966 times

- 043 (800x600).jpg (251.56 KiB) Viewed 5966 times
- 044 (800x600).jpg (255.17 KiB) Viewed 5966 times


Now get out there and beat it up
