An update once again.
Not a whole lot as I have been using the almost all of the holidays to install corrugated foam inserts in the shed roof ridge capping and down near the gutters.
I thought it would take 2 days max, well I was wrong, more like 2 weeks lol. I fucking hate DYI handyman shit, that crap is not for me. But anyway 99% done and needed to be done as it was a loosing battle dealing with weather and leaves, sand, flowers, dirt etc... dropping in through the roof. Next much bigger project is to replace all of the walls and have custom flashing made to rodent/draft/dust proof it all. Thats for another time I think lol. 250m2 is no small job.
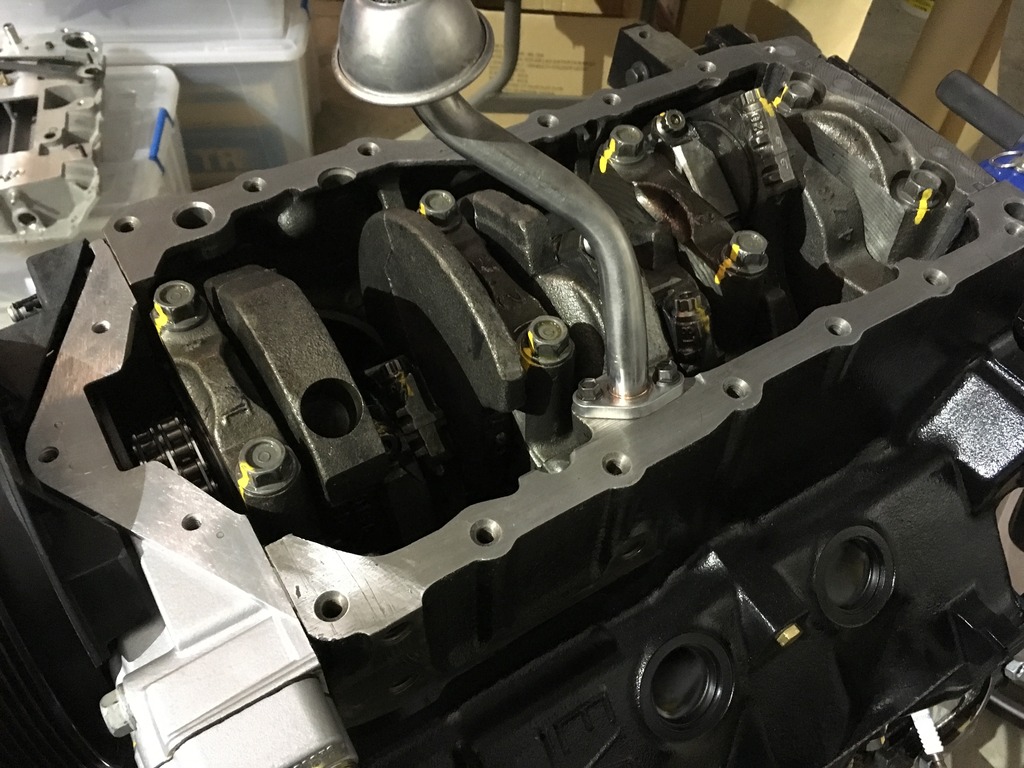
So I managed to finish off the engine with the sump done, I actually did this mid December well before the holidays but didn't get a chance to update on it.
I removed the temp sump and prepared the block for my drilling and tapping jig. It ensures everything is drilled and tapped dead vertical.
hole drilling.
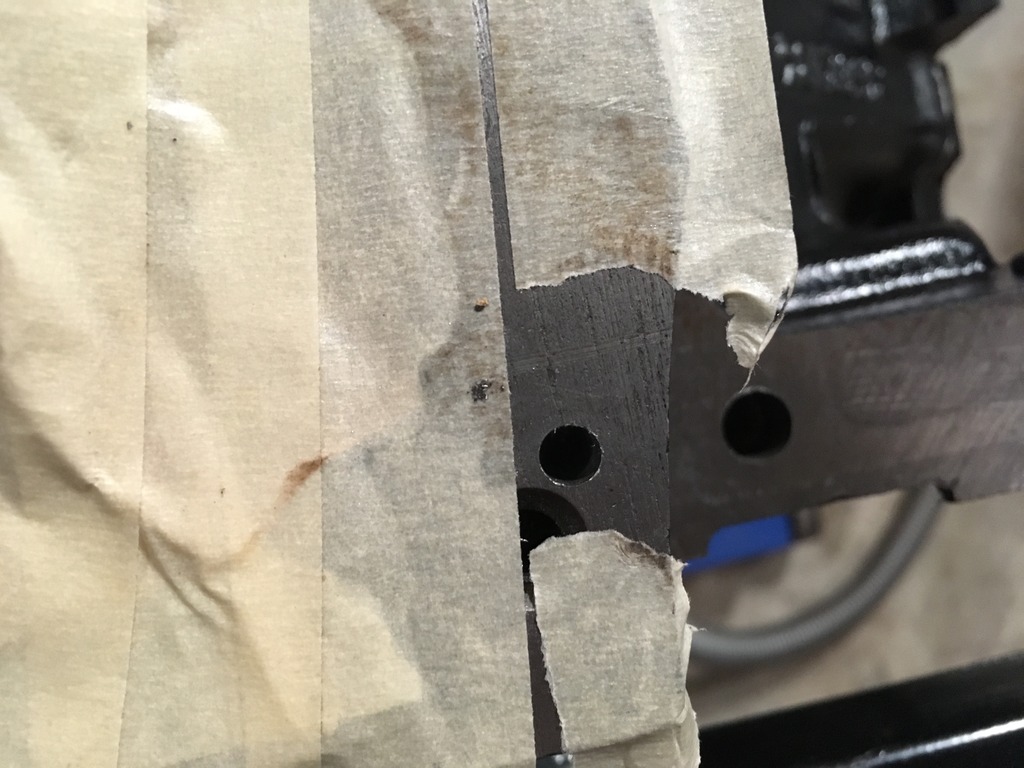
- IMG_1324_zpsozrvzhcz.jpg (176.99 KiB) Viewed 3181 times
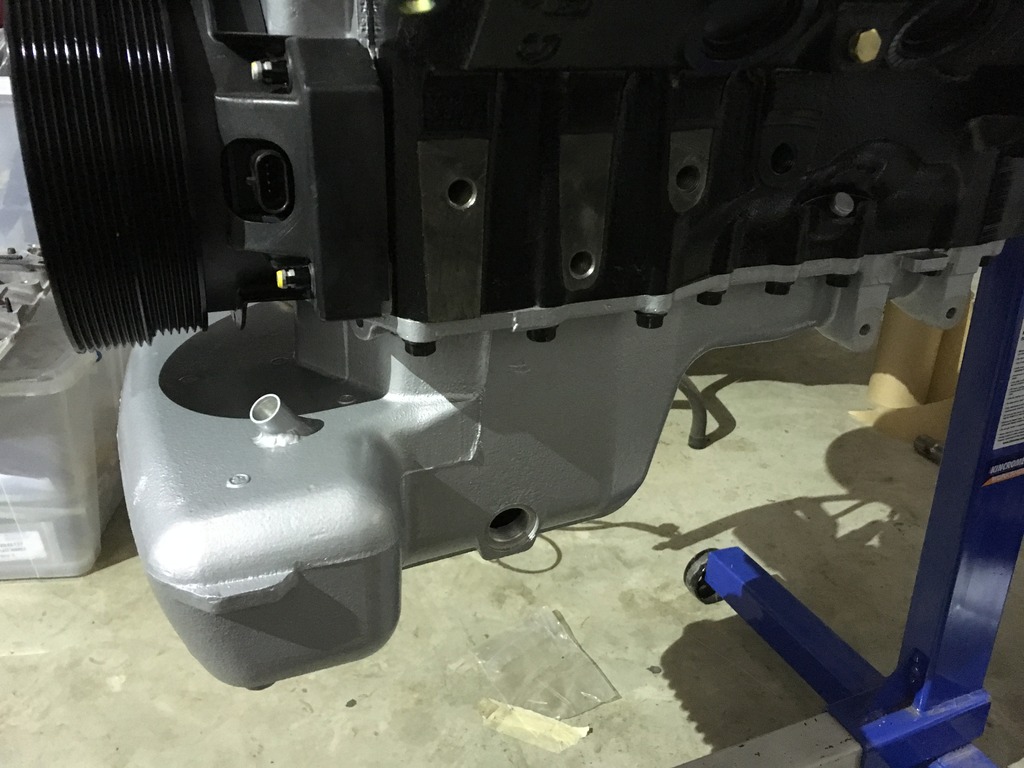
I drilled to 16mm deep.
Proceeded with 1/4" UNC intermediate tap and then a bottoming tap. 1/4" because this one screw on the ecotec sump is in a slightly different location to the Buick one and close, where tapping to the Buick 5/16" would cross over into the existing hole. It works out perfect as the ecotec stock screws are 1/4" and the Buick ones are 5/16" and the great thing is the holes in the ecotec alloy sump are 5/16", so drilling all the rest to 8mm you get a nice firm fit on all the 5/16" screws, effectively pinning the sump to the block.
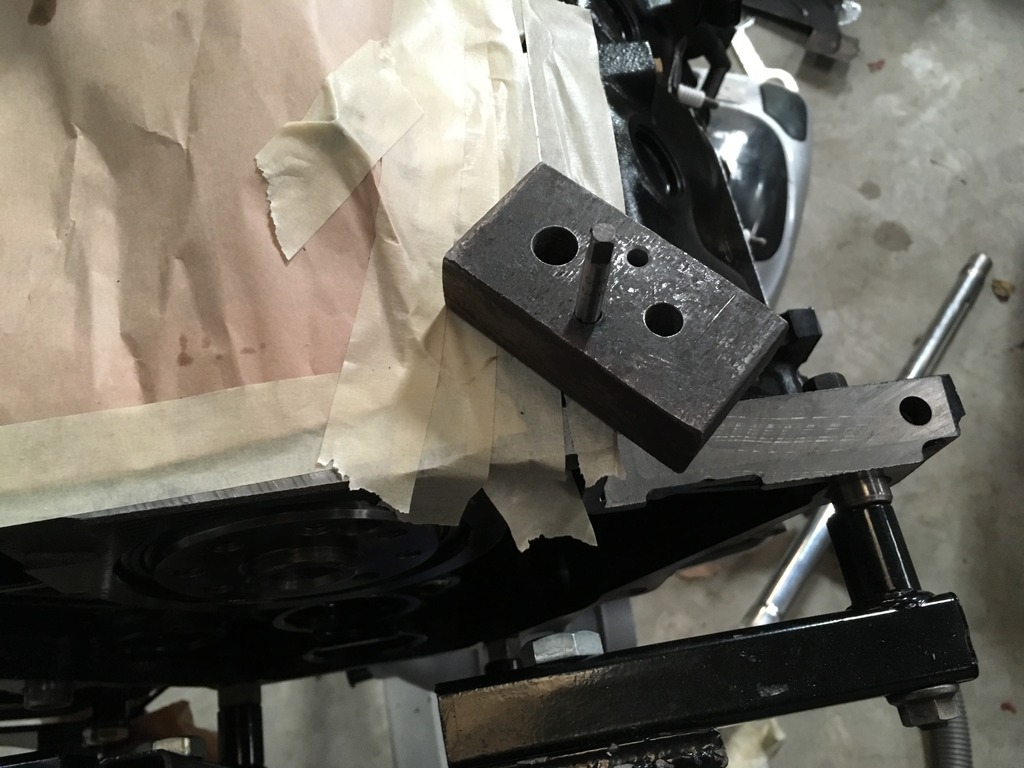
- IMG_1325_zpsynizbo11.jpg (167.91 KiB) Viewed 3181 times
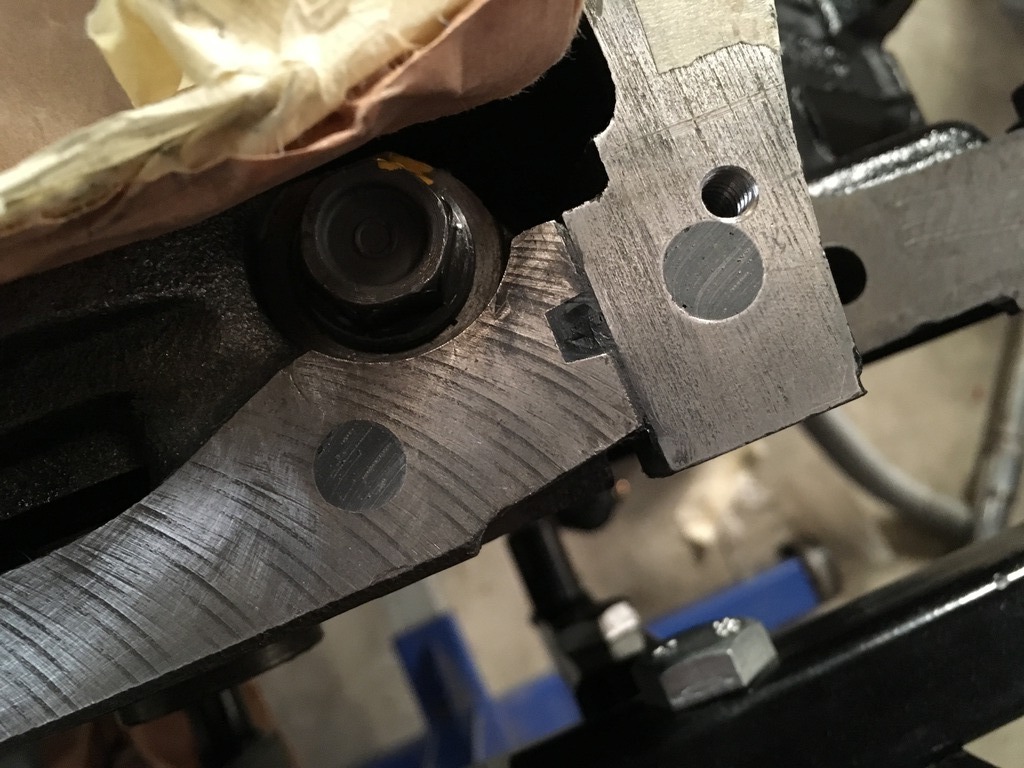
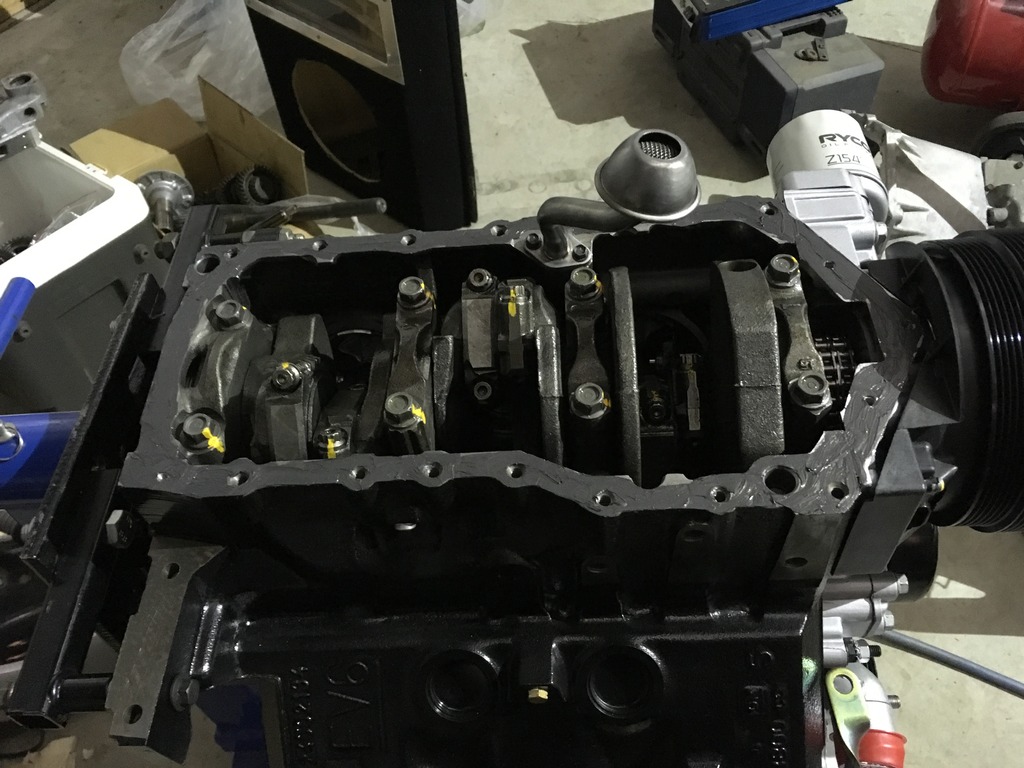
Next I filled the old hole with epoxy, I used JB weld. Note the 2 holes filled on the No. 4 main cap, those are unused on the alloy sump on the ecotec and also due to the closeish proximity to the one of the edges of the sump I figured it be best to fill them to give the most surface area for sealant as possible.
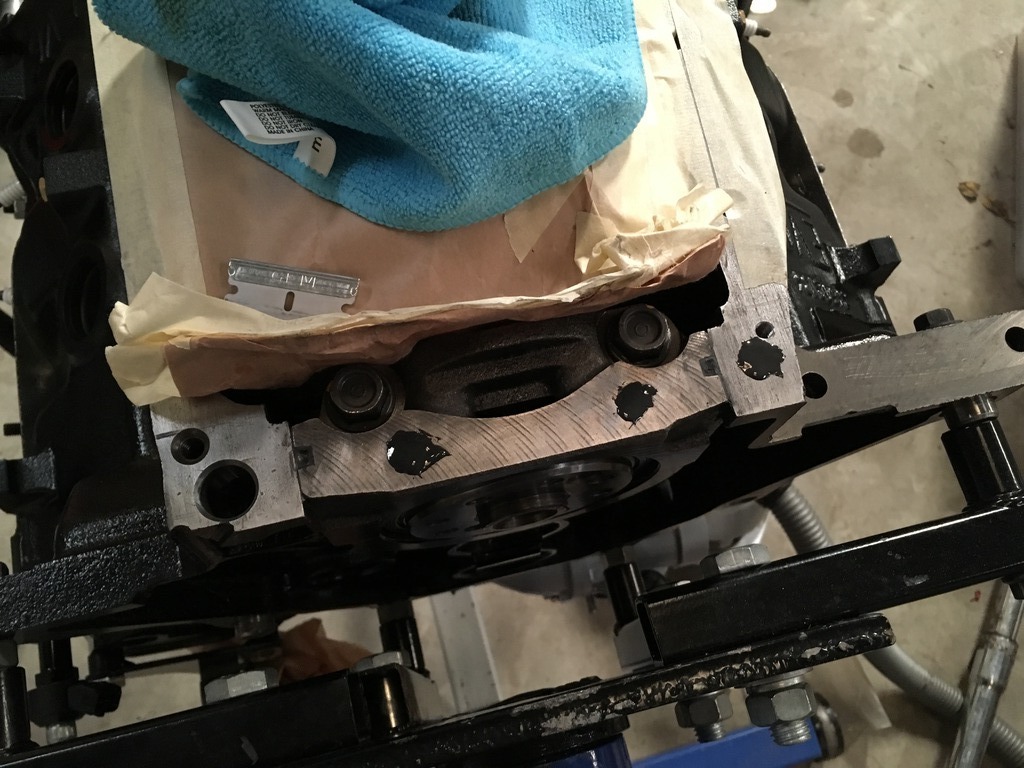
- IMG_1326_zpsjdolpjwv.jpg (213.08 KiB) Viewed 3181 times
Mmmmm so satisfying

- IMG_1327_zpstjxlr2pl.jpg (198.14 KiB) Viewed 3181 times

- IMG_1329_zpsjnhjlok6.jpg (177.12 KiB) Viewed 3181 times
Then a good final clean. I did this while the paper was still sealing the engine so I could give the surface a rub and also flush out the thread holes with solvent as they were to be sealed with sealant and loctite.
- IMG_1330_zpsj6dmormj.jpg (219.43 KiB) Viewed 3181 times
Thin coat of permatex max oil resistant sealant. Only the bestest!
- IMG_1331_zpslbdcvdjf.jpg (201.54 KiB) Viewed 3181 times
Same thing on the sump side only even lighter coat, literally just to "prime" the alloy to ensure no dry air patches and full bonding.

- IMG_1332_zpsp0czabcg.jpg (202.41 KiB) Viewed 3181 times
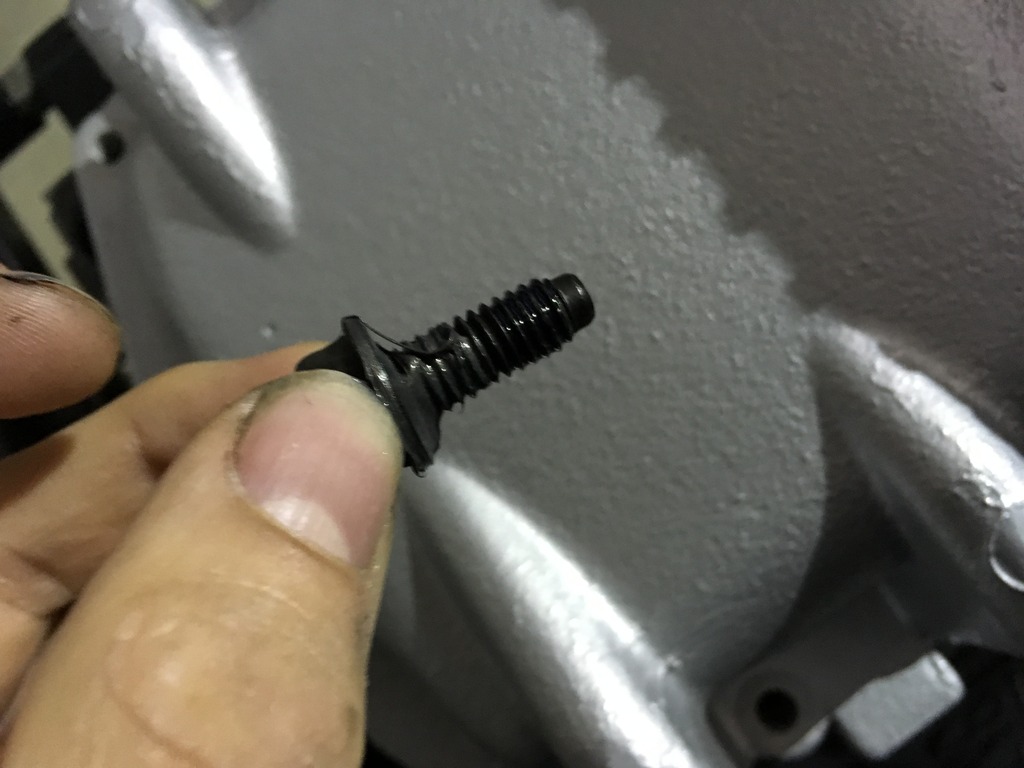
The fun part! I put the sealant under the head and the top half of the thread, bottom half I put loctite blue medium strength.
- IMG_1333_zps9e54w3hy.jpg (126.9 KiB) Viewed 3181 times
Ding!

- IMG_1335_zpsug48jbqh.jpg (173.93 KiB) Viewed 3181 times
TB put together, looks good. Just waiting for the new TPS to arrive. I had a heap and seems most were broken from I guess catching on the firewall when I had stripped the cars they came from.
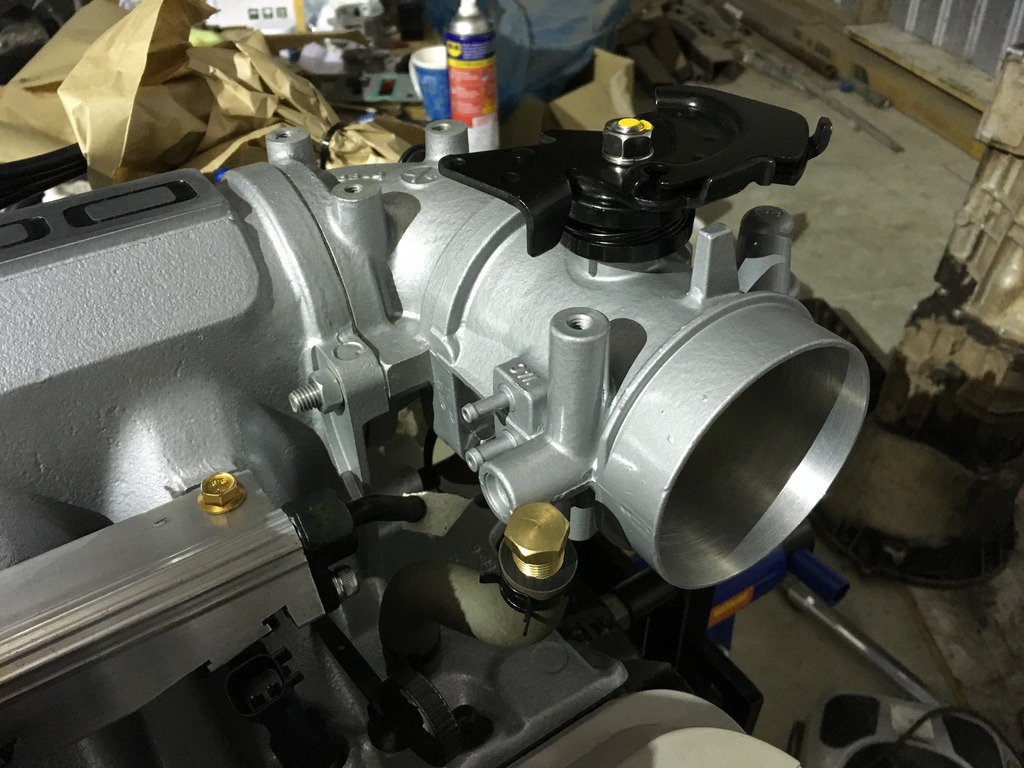
- IMG_1334_zpsbbij4pgu.jpg (212.66 KiB) Viewed 3181 times
So that was it before the holidays.
I managed to get this done a few days ago.
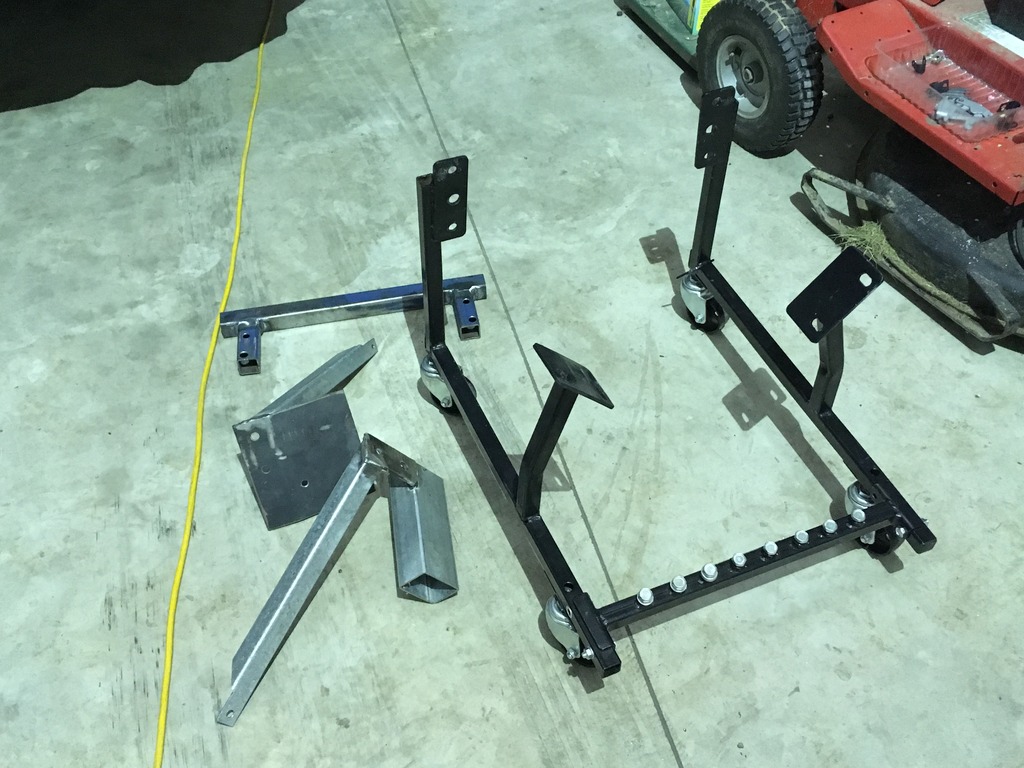
- IMG_1345_zpsbit1nbsg.jpg (221.44 KiB) Viewed 3181 times
And finished yesterday. Now I have a V6/T5 specific power-train cradle
It will allow me to mate the box up to the engine and keep them off the ground instead of hanging it for months on the engine crane, which I need to free up for removal of the old engine and moving of the diff when its needed.
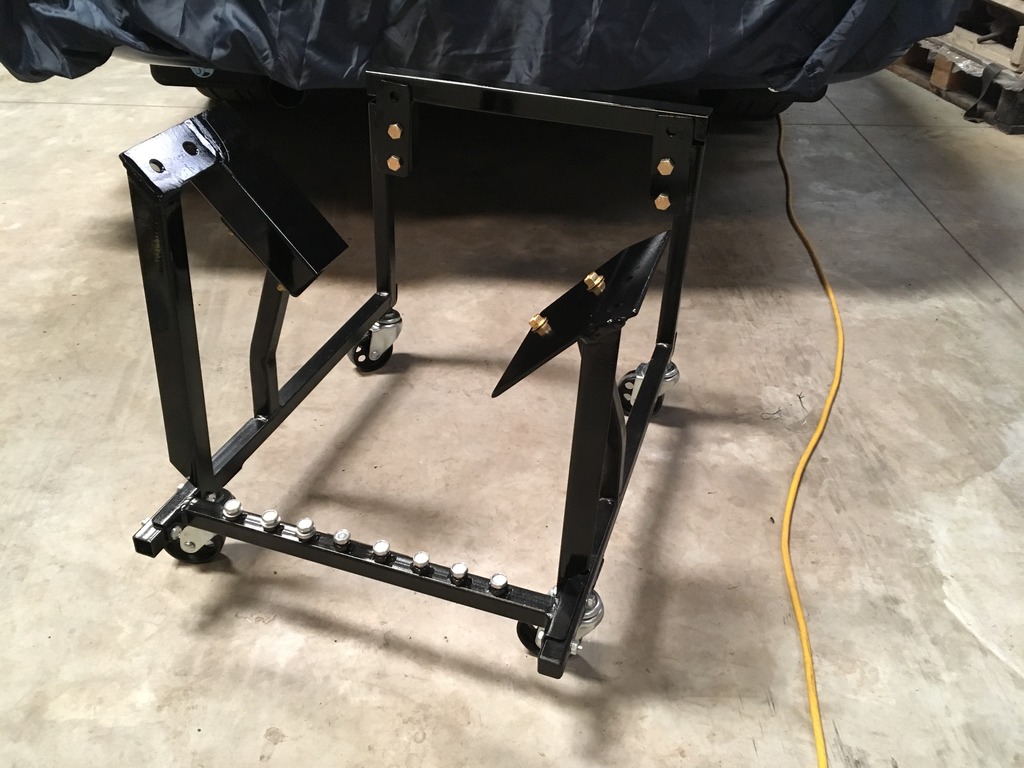
- IMG_1346_zpsz1htx0he.jpg (183.21 KiB) Viewed 3181 times
Today I started finally on the car, hadn't been touched really since March or April?
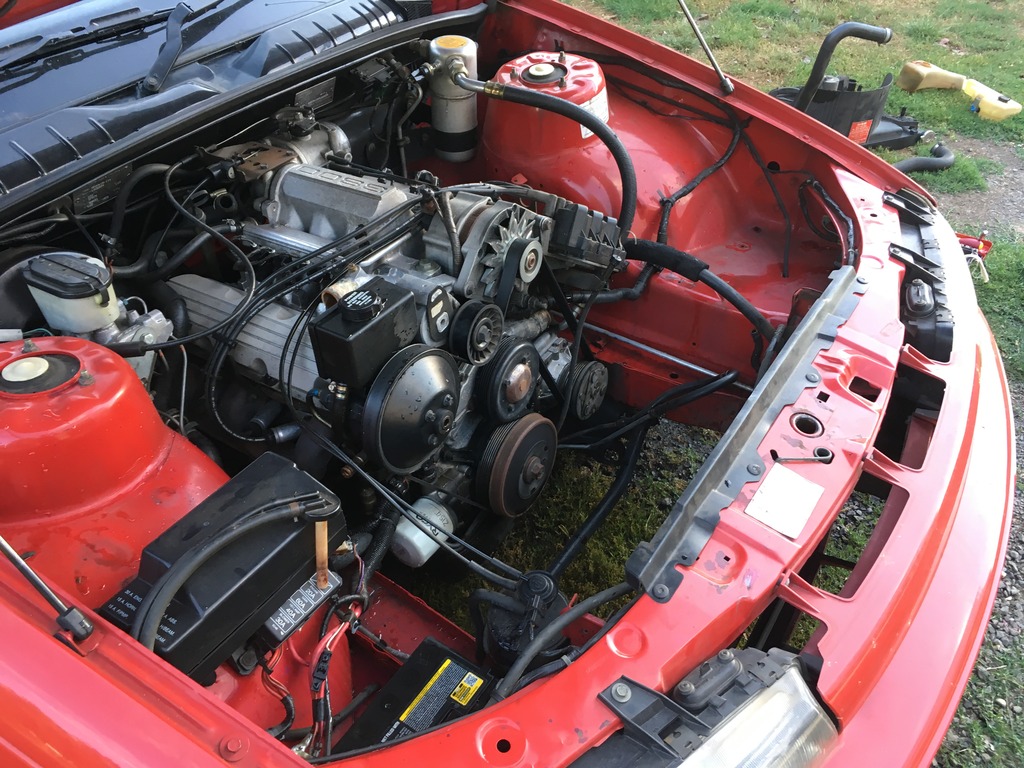
- IMG_1347_zpszhgyaqzu.jpg (290.21 KiB) Viewed 3181 times
I used a hand pump to suck out the fluid via the dip stick tube and it looked sad. There was only 1.5L in there. it was full last time I checked after the auto blew? Must of leaked out, it was pissing out the TC when I last drove when something let go in the auto.
- IMG_1349_zpspzucqei9.jpg (220.6 KiB) Viewed 3181 times
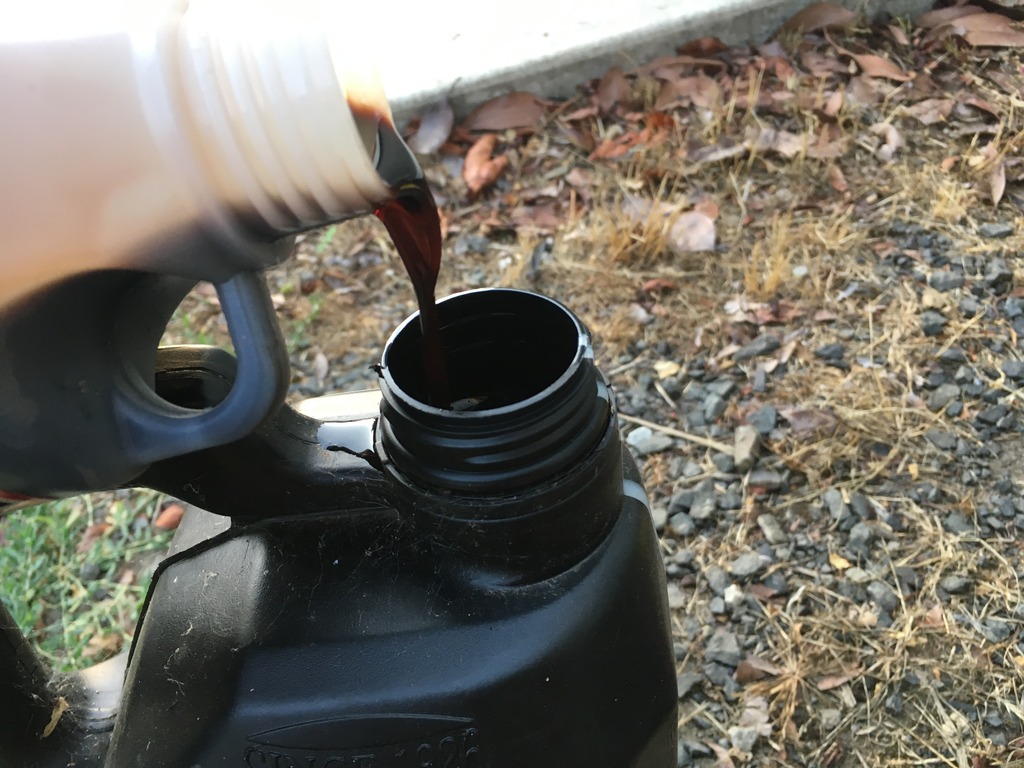
I then used this method to remove the rest.
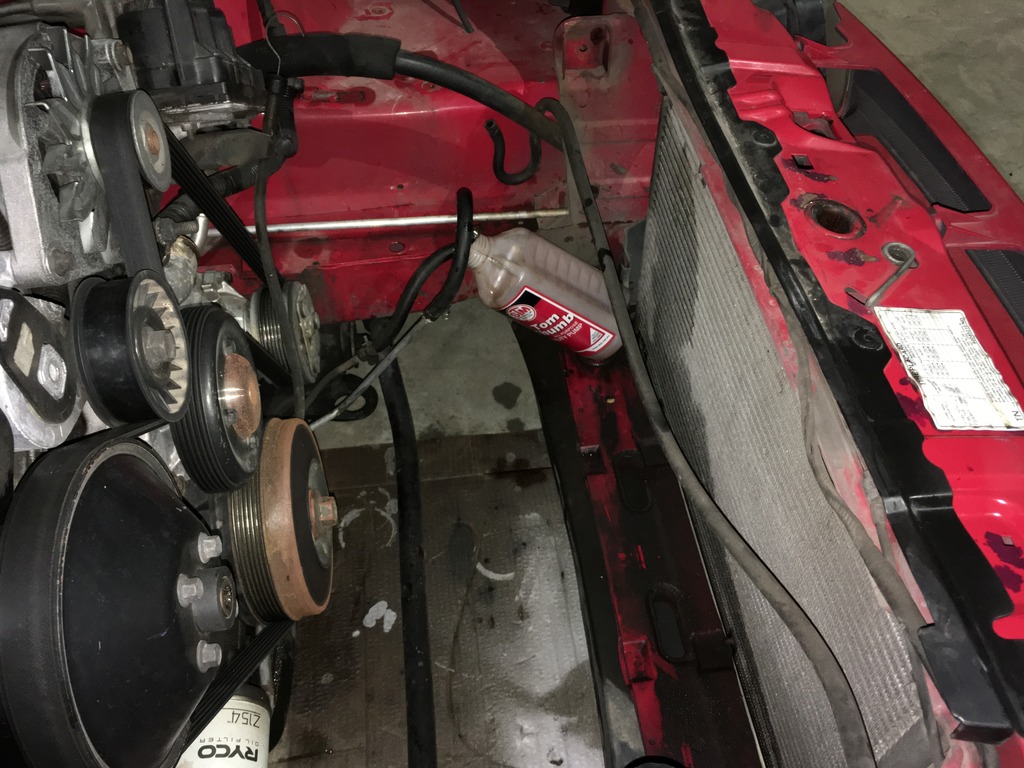
- IMG_1350_zpsearh2acg.jpg (230.53 KiB) Viewed 3181 times
Worked well until the 3rd time when it finally ran dry, fucking mentos and diet coke explosion! bottle was half full and then bang!, foam blasted out like no tomorrow and even after the engine was shut down and I took the bottle off the oil just kept pouring out of the bottle due to the expanding foam. FUCK!

I used a whole curtain as a rag to clean up the mess, was about 2L of fluid on the floor and under the protective cardboard I put down.
I hate autos, grrrr
Anyway I got to a good point, most of the stuff out of the way and disconnected. Should have it all out tomorrow.

- IMG_1351_zpsucdim4b6.jpg (262.98 KiB) Viewed 3181 times
I'm the director of VSH (Vlad's Spec Holden), because HSV were doing it ass about.


